Meshtastic
3D-printed Meshtastic cases: pocket, base station and solar enclosures
Choose a printed Meshtastic pocket case, base-station stand or solar-box mount. Match boards, batteries, filament, seals and antenna fittings.
OUR PICKS / YOUR SETUP
Find your fit.
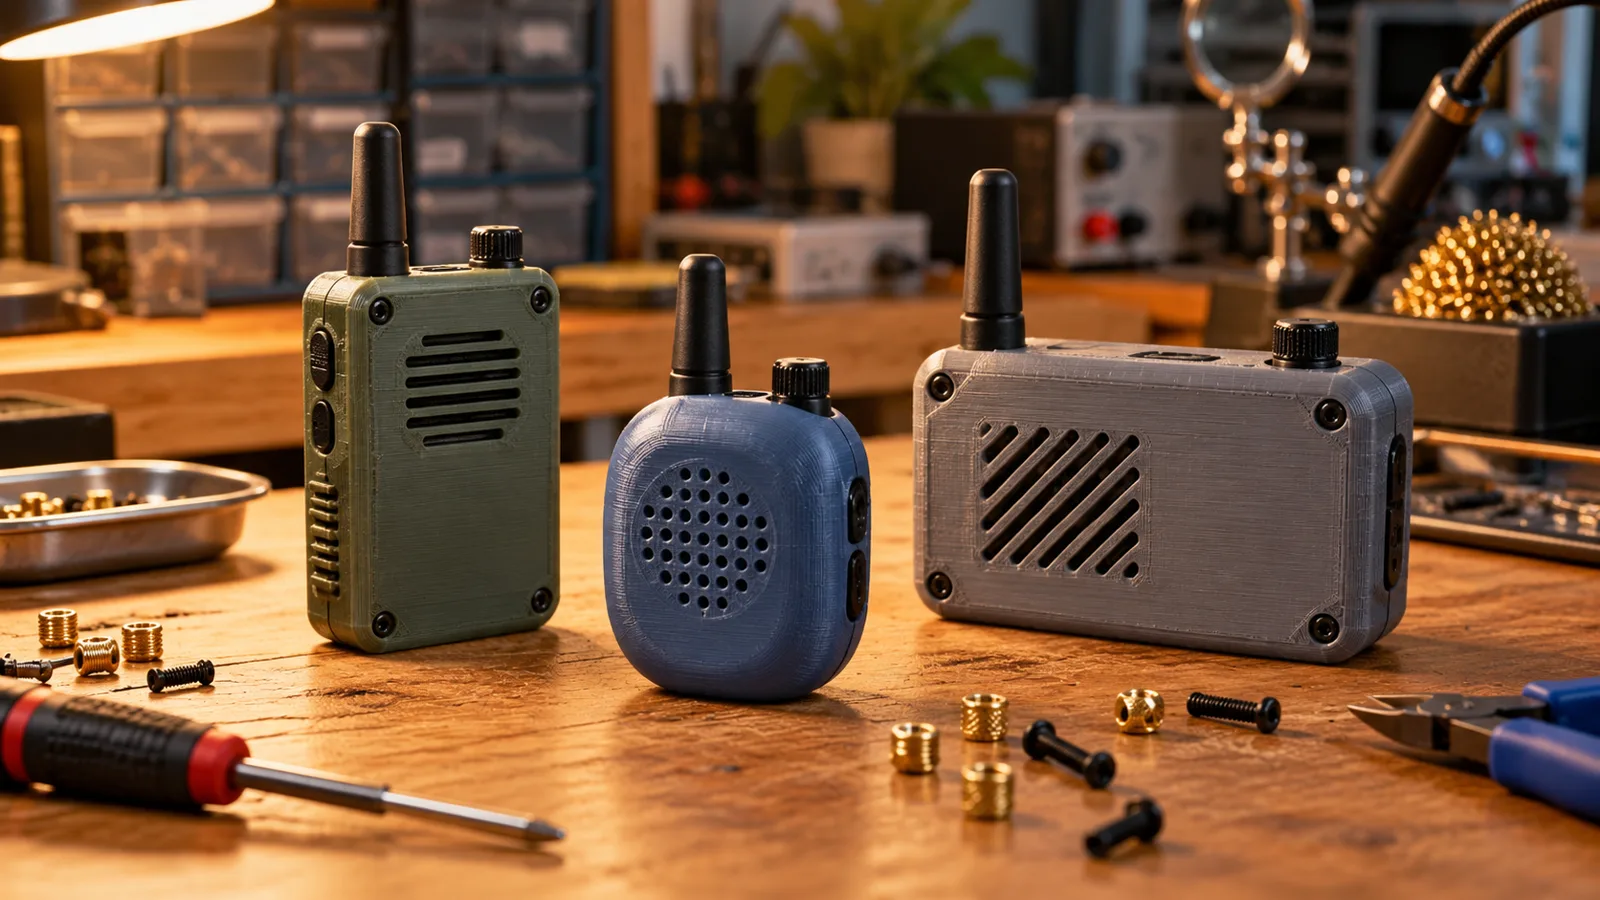
Print a PETG pocket case or indoor stand around your exact board and battery. For solar duty, buy a commercial IP-rated weather box and print the tray inside; choose ASA for exposed mounts.
- Everyday materialPETG
- Solar approachRated box + tray
- Fit comes firstBoard + battery
A bare radio board is a project. A case that fits your pocket, leaves the charging socket reachable and keeps the antenna from tugging on a tiny connector makes it something you will actually carry. Start with the board and battery—not the prettiest render in the model library.
This research guide uses Meshtastic hardware references and maker material, enclosure and battery guidance, checked October 29, 2026.
The practical pick: print a PETG pocket case or indoor base-station stand. For a solar relay, buy a commercial IP-rated weather box and print the tray inside it. Choose ASA for exposed printed mounts and covers when you have a printer set up for it.
For the shell material, compare PLA, PETG, ASA and TPU for functional parts before choosing between a desk case, exposed mount and soft bumper.
Measure the board and battery, then use our calipers, insert-tool and finishing guide to turn the printed shell into a fitted assembly.
Before the board goes into its case, use our electronics bench guide to choose soldering tools and a meter for headers and power checks.
Pocket, base station or solar: choose the job first
| Your node | What to print | Design around | Material starting point |
|---|---|---|---|
| Pocket radio | Rounded shell with accessible buttons and charging port | Exact board revision, protected battery pack, antenna exit | PETG; PLA for an indoor fit prototype |
| Indoor base station | Stand or serviceable enclosure | Stable base, USB cable bend, screen visibility and antenna clearance | PETG or PLA away from heat |
| Outdoor solar relay | Removable internal tray and mounting brackets | Commercial weather box, battery restraint, glands and bulkhead antenna | PETG inside; ASA for exposed printed pieces |
The board doesn’t dictate the role. A Heltec V3, RAK WisBlock or T-Beam needs a model made for its actual footprint and connectors; battery capacity alone doesn’t tell you whether the pack fits. If you haven’t chosen the electronics yet, start with the Meshtastic starter-node guide. The solar relay parts list handles the panel, charging and energy budget.
Find the right model, then read its shopping list
Meshtastic’s Heltec enclosure directory and RAK WisBlock case directory are useful starting points. RAK19003 and RAK19007 have separate cases. The T-Beam enclosure page also lists its required fasteners. Match the board revision in the model notes rather than treating a familiar family name as the fit specification.
Search Printables, MakerWorld and Thingiverse for the board name plus “case.” Meshtastic’s enclosure project collects design references and board CAD files, which help when you want to modify a mount instead of starting from an empty sketch.
Before downloading, read the individual model’s license: attribution, remixing, redistribution and commercial use can have different conditions. Keep the author’s name and source link with your project notes. Share the original page instead of rehosting its files; Printables’ terms explain its model-license framework.
Make a fit card before committing to the full print:
- Board: revision, mounting holes, underside components and any expansion module.
- Battery: actual protected-pack or holder dimensions, wire exit and connector space.
- Access: USB plug body, reset/boot buttons, power switch and screen opening.
- Radio: LoRa antenna connector, any separate Bluetooth/GPS antenna, and room for the pigtail bend.
- Hardware: screw lengths, nuts or inserts, gasket channel and lid removal direction.
A model designed around a small LiPo can run out of room long before a larger pack’s connector reaches the socket. Measure the assembled pack, not just the bare-cell dimensions in a datasheet.
PLA, PETG or ASA? Buy for the destination
Prusa’s PLA guide makes PLA a sensible indoor prototype material. Use it to try the button reach and USB cutout on your desk. Keep it away from hot windowsills and parked-car duty.
PETG is the general-purpose choice. Prusa recommends it for functional indoor and outdoor parts. It suits a carry case, desk stand or internal mounting tray. The registered Polymaker PETG spool is the material pick here; use its maker profile rather than copying another blend’s temperatures.
ASA earns its place outdoors through UV and heat resistance, as Prusa’s ASA guide explains. Choose it for exposed brackets and covers. ASA also needs the right printing environment: use the printer enclosure, fumes and power guide to plan that setup.
ASA-CF is a separate material choice. Bambu’s ASA-CF guidance describes outdoor durability and requires a hardened-steel nozzle. Buy it when the design calls for that blend’s properties, rather than adding carbon fiber just because the box lives outside. Filament heat resistance and the battery’s permitted temperature are separate limits.
The parts worth putting on your bench
These are materials and fittings for a design you have chosen—not a universal case kit. Match the model’s gasket groove, fasteners and cable entries before ordering the mechanical pieces.
We earn a commission if you buy through our links — it doesn’t change our picks. How we make money → As an Amazon Associate I earn from qualifying purchases.
| Part | Pick | What it does |
|---|---|---|
| General case material | Polymaker PETG, black 1 kg | Functional pocket shells, stands and internal trays |
| Cable entry | uxcell PG7 nylon glands | Grips a 3–6.5 mm cable jacket at the enclosure wall |
| Membrane vent | ANGSTROM AIR-M12 breather | Dedicated breathable entry with an M12 × 1.5 thread and sealing O-ring |
| Lid seal | uxcell 2 mm silicone foam cord | Compressible gasket material for a matching lid channel |
| Reusable threads | ruthex GE-KASTEN-001 inserts | Metal threads for a lid you plan to reopen |
| Battery option | EEMB LP103454-PCM protected LiPo | A 3.7 V, 2000 mAh pack for a compatible single-cell board and case |
The EEMB pack is an option for a RAK project, not a fit recommendation for every downloadable case. RAK’s RAK19003 datasheet specifies the battery connection and charging requirements. Check connector type and polarity against that diagram once before plugging in: matching plastic housings can still have reversed wires.
Weatherproof the assembly, not just the lid
A printed outdoor box has several water paths: the wall itself, the lid joint, screw holes and every cable or antenna penetration. Adding a gasket tackles one of those. It doesn’t give the finished print an IP rating.
For unattended solar duty, the safer starting point is the commercial IP-rated box in the solar guide, with a printed removable tray inside. Keep the radio and battery off the enclosure floor, leave service access and preserve the box maker’s sealing and mounting instructions when adding fittings.
Build the weather plan as a set:
- Lid: a continuous gasket in a designed channel, compressed evenly by the lid hardware. A warped mating surface needs fixing before more sealant.
- Cables: glands sized for the jacket, fitted through a flat sealing surface. Put a drip loop below the entry so water doesn’t follow the lead straight inside.
- Pressure: a purpose-made membrane vent, installed in its intended orientation with its sealing ring. Keep the membrane clear of paint and sealant.
- Service: a lid you can open without pulling the board, battery or antenna lead out with it.
GORE’s outdoor-electronics guidance explains why venting addresses pressure changes and condensation. The parts list uses ANGSTROM’s AIR-M12 membrane fitting, with its own mounting and sealing requirements. A breather also isn’t a cooling fan, so solve solar heating with placement and the power system’s temperature limits.
Conformal coating is an optional corrosion-control layer for the board. Follow the coating maker’s cleaning, masking and curing instructions—MG Chemicals’ application guidance covers those steps. Keep connectors, contacts, buttons and antenna interfaces out of the coating. It supplements the enclosure; it doesn’t seal the battery or cable entries.
Let the case carry the antenna load
Mount an external antenna through a supported bulkhead so the case takes a knock or cable pull. Leave a gentle pigtail route to the board’s tiny socket, with no trapped coax under the lid. Keep the nut accessible for tightening without twisting the internal lead.
The antenna and connector guide explains U.FL, SMA versus RP-SMA and matching pigtails. Identify the LoRa socket before connecting; attach the correct antenna before powering the radio. For an indoor stand, leave space behind the USB port so the cable doesn’t tip the node over.
Give the battery its own space
Use a protected pack or a protected-cell setup with a charger matched to the board. A passive 18650 holder only holds the cell; it doesn’t add electrical protection. Design a cradle that restrains the battery without squeezing it, isolates terminals from screws and inserts, and leaves the wire free of pinching edges.
EEMB’s cell specification gives a charging range of 0–45°C and warns against heat, puncture, short circuits and damaged cells. Electrical protection doesn’t make crushing or overheating safe. Keep the solar box out of direct heating where practical and use a charging system that respects the battery’s temperature limits; an ASA shell surviving the sun doesn’t mean its LiPo can charge there.
Fit first, add the shiny hardware second
Print a small port or fastener test section before the full shell. Dry-fit the unpowered board and a battery-sized dummy, then check the lid and cable routes. Install heat-set inserts with the electronics and battery removed, following the ruthex dimensions and installation guidance. Let the bosses cool before assembling.
Use the model’s screw lengths, then inspect the inside: no screw tip pressing toward a cell, no insert touching a trace, no trapped antenna lead. Test an outdoor enclosure empty, fix any leaks and dry it completely before installing electronics.
For more fastener and orientation advice, see printable homelab parts. Explore the 3D printing lab for the printing side and the Meshtastic hub for the radio side. The best case is the one that makes charging, carrying and fixing your node easy—not the one that makes you dismantle everything to reach a button.
Sources & methodology
Where these facts come from.
- Heltec LoRa 32 Enclosures | Meshtastic · checked October 29, 2026
- Meshtastic: board CAD and enclosure references · checked October 29, 2026
- RAK WisBlock Enclosures | Meshtastic · checked October 29, 2026
- PLA | Prusa Knowledge Base · checked October 29, 2026
- PETG | Prusa Knowledge Base · checked October 29, 2026
- ASA | Prusa Knowledge Base · checked October 29, 2026
- ASA-CF | Bambu Lab US Store · checked October 29, 2026
- Conformal Coating Guidelines | MG Chemicals · checked October 29, 2026
- RAK19003 WisBlock Mini Base Board Datasheet | Specs & Features · checked October 29, 2026
- EEMB: LP103454 cell specification and precautions · checked October 29, 2026
- Polymaker PETG Filament — High-Speed, High-Strength · checked October 29, 2026
- Ruthex M2/M3/M4/M5 thread insert assortment box for 3D printing · checked October 29, 2026
- Terms of Service of Printables.com | Original Prusa 3D printers directly from Josef Prusa · checked October 29, 2026
- T-Beam Enclosures | Meshtastic · checked October 29, 2026
- Outdoor Electronics Vents | Gore · checked October 29, 2026
Source dates are listed above.
As an Amazon Associate I earn from qualifying purchases.
Parts from this article
The gear, on Amazon
The models recommended above, with the specifications that matter for your choice.
Functional parts spool
Polymaker PETG, black 1 kg
Move to PETG when your project calls for tougher functional parts.
Reusable screw threads
ruthex GE-KASTEN-001 threaded insert assortment
Add metal threads to a printed lid or bracket that you will open again.
Battery for a RAK project
EEMB LP103454-PCM 3.7V 2000mAh LiPo
Power a portable RAK project with a LiPo pack sized for your enclosure.
Cable entry
uxcell PG7 nylon cable glands, 10-pack
Clamp the cable jacket at the wall instead of hanging its weight from the board.
Pressure equalization
ANGSTROM AIR-M12 breather vent, 2-pack
Give your enclosure a dedicated breathable vent instead of an open air hole.
Lid gasket material
uxcell 2 mm silicone foam cord, 4 m
Cut a compressible seal for a lid designed with a matching gasket channel.
Prepared by Racks & Watts.