3D printing
3D printer enclosure, fumes and power: a safe setup at home
Plan a stable printer bench, source ventilation, HEPA/carbon room filtration and local energy metering. Choose an enclosure, smoke alarm and optional UPS by fit.
OUR PICKS / YOUR SETUP
Find your fit.
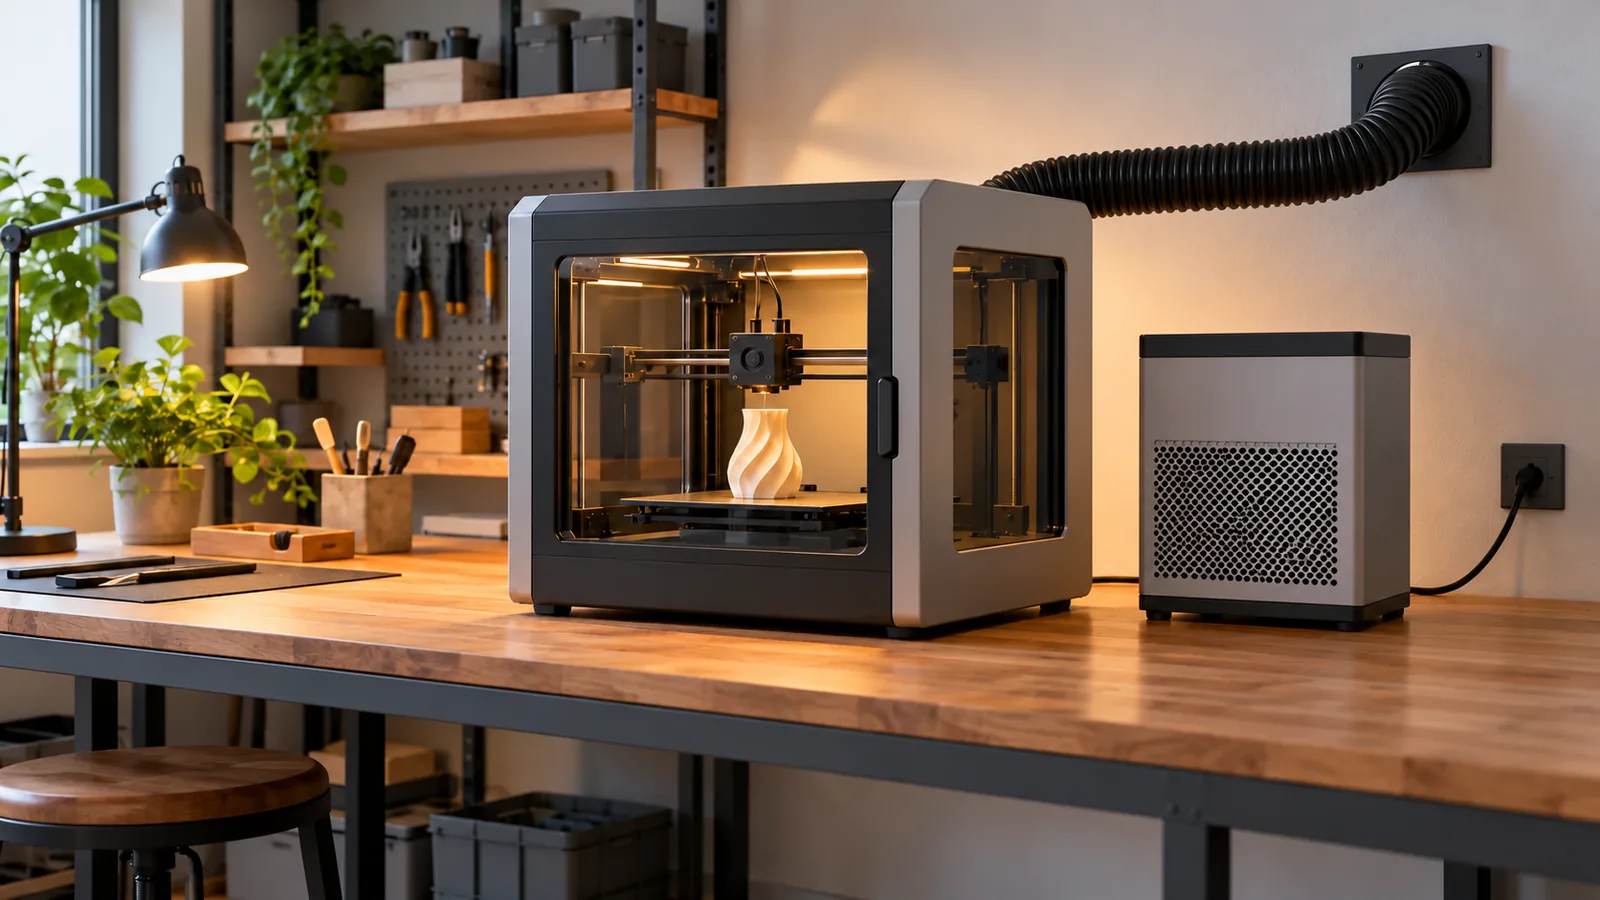
Start with a stable work area and source ventilation. Choose an enclosure approved for your printer, use HEPA/carbon room filtration as a supplement, add an audible smoke alarm and meter the load before choosing an optional UPS.
- Control emissionsCapture at the source
- Keep it steadyBench + clear airflow
- Battery backupSize for heater peaks
Give your printer a proper bench, an air path and a reachable power switch. You will enjoy the next rack bracket far more when the machine has room to move and the airflow has somewhere useful to go.
Research guide: safety guidance comes from NIOSH, EPA and official sources; product details come from the makers, checked October 28, 2026.
Start with placement and source ventilation, add a compatible enclosure for draft-sensitive materials, and measure the heater load before shopping for a UPS. Our 3D printing hub connects the printer, filament and project guides.
What to buy—and the job each item does
We earn a commission if you buy through our links — it doesn’t change our picks. How we make money → As an Amazon Associate I earn from qualifying purchases.
| Pick | Its job | The fit that matters |
|---|---|---|
| ELEGOO printer enclosure | A covered environment for a compatible open-frame printer | Maker-listed Neptune models; allow full bed and cable travel |
| Smart Air SA600 | Supplementary room filtration with HEPA and activated carbon | Keep its room-air inlets and outlets clear |
| First Alert SMI100 | A battery-operated audible smoke alarm | Install in the printer area according to its instructions |
| Shelly Plug US Gen4 | Local power and energy readings | US 120 V model; stay within its 15 A / 1,800 W rating |
| CyberPower CP1500PFCLCD, optional | Battery backup for a brief interruption, plus surge protection | The 1,000 W revision, sized against the complete protected load |
The enclosure is for the printer; the SA600 cleans room air. Build the source-extraction plan separately rather than connecting a duct to a room air cleaner.
Choose the room before the enclosure
Use a separate, ventilated work area away from bedrooms and the chair where you spend the day. A printer beside your keyboard puts the noise and emissions beside you too. EPA recommends reducing time near an operating printer and using emission controls.
Choose a level, stable bench with space for the moving bed, spool, door and cable bends. Keep the power connection accessible and the machine’s cooling vents open. Include room to change filters and service the printer without moving a hot machine.
The Prusa CORE One+ handbook is a useful example: it specifies a stable workbench and clear space around the machine. Use your own printer’s clearance instructions for the final layout. A tent’s footprint alone tells you little about the bed’s complete sweep.
Plan noise here as well: put the printer and extraction fan away from calls and sleeping areas, with space to service both.
When an enclosure earns its space
For ABS and ASA, controlling drafts and maintaining the printing environment helps with warping. The Prusa ABS and ASA guides explain the printing conditions and ventilation those materials need. An enclosure handles the thermal side; your air-control plan handles the emissions.
The ELEGOO enclosure page names Neptune 2, 2D, 2S, 3, 3 Pro, 4 and 4 Pro. Choose it for a listed, compatible machine with room for its moving parts. A printer already designed around an enclosed chamber is the tidier route when you regularly want heat-tolerant materials.
Keep the Bambu A1 open: Bambu’s FAQ says it does not recommend enclosing it. For an enclosed-materials machine, use the choices in our printer buying guide.
PLA and PETG projects still deserve an air plan. Choose materials around the part’s job, then use our filament drying and storage guide to keep the spool ready. Dry filament and controlled room air solve different problems.
Fumes and particles: two things to control
Heated filament can release ultrafine particles and volatile organic compounds, or VOCs. Particles and gases need different controls. EPA’s research also finds that emissions vary between filaments; a material name alone is too broad a shortcut for the whole setup.
NIOSH’s safe-printing guide recommends engineering controls such as ventilated enclosures and local exhaust near the source. Capturing emissions before they spread through the room is the useful starting point.
| Air-control route | What it does | How to use it |
|---|---|---|
| Enclosure with local exhaust to outdoors | Captures and moves emitted air out of the occupied space | Use a suitable enclosure/extraction design and safe outdoor termination |
| Enclosure filtration system | Pulls enclosure air through filters | Match the fan, seals and filter stages as a system |
| Room HEPA/carbon cleaner | Filters air that reaches the room | Use as supplementary cleanup alongside source control |
For outdoor exhaust, route the discharge away from windows and air intakes rather than into another occupied space. Plan the duct path, fan and replacement air together. Keep the printer within its maker’s thermal limits; a strong cold draft across an ABS print defeats the enclosure’s other job.
NIOSH’s engineering-control guidance supports source capture and ventilated enclosures. It also describes manufacturer-designed controls as preferable to improvised retrofits that introduce other hazards.
HEPA and carbon have different jobs
HEPA captures particles. Activated carbon adsorbs gases. Carbon capacity and the chemicals involved matter; a thin odor filter and a substantial gas-filter bed are different purchases. The California Air Resources Board explains the limits and advises avoiding ozone-generating air cleaners.
The SA600 manual shows its HEPA and activated-carbon stages. Place this room cleaner with clear airflow, remove the filter packaging before use, and keep up with maintenance. Its prefilters can be cleaned; the HEPA and carbon filters need replacement rather than washing.
Make the fire-safety basics routine
One safety boundary: a fabric cover, filter, camera or smart plug does not make unattended printing fire-safe. Follow the printer’s attended-operation instructions, monitor long jobs and remain able to respond. Keep flammable clutter away, use intact power cables and leave firmware heater protections enabled. A camera gives you an extra view, not a replacement for supervision.
Install an audible smoke alarm near the printer area according to its manual, alongside the required alarm coverage elsewhere. The First Alert SMI100 has battery operation and a test/silence button. Test and maintain it as instructed; the US Fire Administration explains installation and testing basics.
Thermal protection is a useful backstop. Marlin documents hotend and bed protection, while Prusa explains heater shutdown for thermal-runaway faults. Fix a recurring heater or sensor fault instead of disabling the protection to finish a job.
Meter the printer before sizing its power backup
The Shelly Plug US Gen4 provides power metering and a local interface. Home Assistant’s Shelly integration uses local push; use that native Wi-Fi route for power and energy readings.
Watch a cold start, bed warm-up and a representative print. Record the highest observed load as well as the energy used by the finished job. Include the printer’s nameplate and maker guidance when selecting electrical equipment. Our plug-in power-meter guide covers the AC-meter options.
Use normal power switching after the job and its cooldown routine finish. Skip a “low watts means turn it off” automation: heater cycling and pauses are part of printing. For more local energy-monitoring options, see our smart-plug guide.
Is a UPS worth feeding the heated bed?
Buy battery backup to solve a particular interruption. It can bridge a short cut, but the heater changes the calculation dramatically compared with backing up only a controller. A controller that stays online cannot keep an unpowered printer printing.
Illustrative planning assumptions: printer peaks below are assumed; add the SA600’s maker-rated 60 W and an assumed 10 W controller, then multiply by 1.25 for planning headroom.
| Assumed printer peak | Filter + controller | Total protected load | Load × 1.25 target | Within a 1,000 W UPS watt budget? |
|---|---|---|---|---|
| 300 W | 70 W | 370 W | 462.5 W | Yes |
| 600 W | 70 W | 670 W | 837.5 W | Yes |
| 1,000 W | 70 W | 1,070 W | 1,337.5 W | No |
The CP1500PFCLCD datasheet rates the selected revision at 1,500 VA / 1,000 W. Its maker-rated runtime is 10 minutes at half load, equivalent to 500 W. That is a brief-outage bridge, not an evening’s heater supply. Use the actual load, VA requirements and maker runtime curve for your choice; the table is a sizing example, not a runtime estimate.
The UPS includes surge protection, with separate battery-backed and surge-only outlets. The printer needs a battery-backed outlet to ride through a cut. Follow the power-equipment connection instructions and avoid daisy-chained strips.
If restarting a failed print is acceptable, skip the battery and plan appropriate surge protection with the printer’s power connection. Put the effort into the bench and air controls first. Our UPS buying guide and sizing guide explain ratings and runtime in more detail.
Set up the station, then start the fun job
- Measure the complete motion and service space on a stable bench.
- Choose the printer/material/enclosure combination, including the air-control route.
- Install and test the alarm; prepare the filters and keep their airflow clear.
- Keep cables accessible, inspect the machine and complete its normal checks.
- Observe the first warm-up and print, then use the readings for any UPS decision.
Our cloud-free printer guide covers local dashboards and cameras. Once the station is ready, print the cable comb, Pi mount or rack panel that made you want the machine in the first place.
Want the finished-print ping and a cooldown check before switching off? Connect the printer to Home Assistant and use actual heater temperatures instead of a low-watts guess.
Sources & methodology
Where these facts come from.
- NIOSH: approaches to safe 3D printing · checked October 28, 2026
- NIOSH guide: source ventilation, enclosures and filtration · checked October 28, 2026
- EPA: particles, VOCs and exposure controls · checked October 28, 2026
- CARB: particle versus gas filtration · checked October 28, 2026
- First Alert: SMI100 smoke alarm · checked October 28, 2026
- Shelly: US Gen4 local interface, metering and ratings · checked October 28, 2026
- Home Assistant: native Shelly integration · checked October 28, 2026
- Bambu: A1 enclosure guidance · checked October 28, 2026
- Prusa: thermal-runaway protection · checked October 28, 2026
- Prusa: ASA printing conditions · checked October 28, 2026
- Prusa: ABS printing conditions · checked October 28, 2026
- Smart Air: SA600 filter stages, maintenance and power · checked October 28, 2026
- CyberPower: CP1500PFCLCD ratings and runtime · checked October 28, 2026
- USFA: smoke-alarm placement and testing · checked October 28, 2026
- Marlin: hotend and bed thermal protection · checked October 28, 2026
- Prusa CORE One+: placement, clearances and supervision · checked October 28, 2026
- ELEGOO: compatible Neptune enclosure models · checked October 28, 2026
Source dates are listed above.
As an Amazon Associate I earn from qualifying purchases.
Parts from this article
The gear, on Amazon
The models recommended above, with the specifications that matter for your choice.
Draft-control enclosure
ELEGOO printer enclosure for compatible Neptune models
Give a compatible open-frame Neptune printer a covered space for draft-sensitive materials.
Supplementary room filtration
Smart Air SA600 air purifier
Add HEPA and activated-carbon room filtration alongside your source-ventilation plan.
Audible smoke alarm
First Alert SMI100 smoke alarm
Add a battery-operated smoke alarm in the printer area according to its installation instructions.
Best tinkerer pick
Shelly Plug US Gen4 (white)
Use Shelly’s local integration for power readings, then explore MQTT and on-device scripts.
Small rack or bounded GPU load
CyberPower CP1500PFCLCD (CP1500PFCLCDa revision)
Choose for a small rack needing six battery-backed outlets.
Prepared by Racks & Watts.