3D printing
Filament drying and storage: dryer boxes, dry storage and humidity, explained
Choose a single- or multi-spool filament dryer, a print-from dry box or sealed storage. Compare maker drying profiles for PLA, PETG, TPU and nylon.
OUR PICKS / YOUR SETUP
Find your fit.
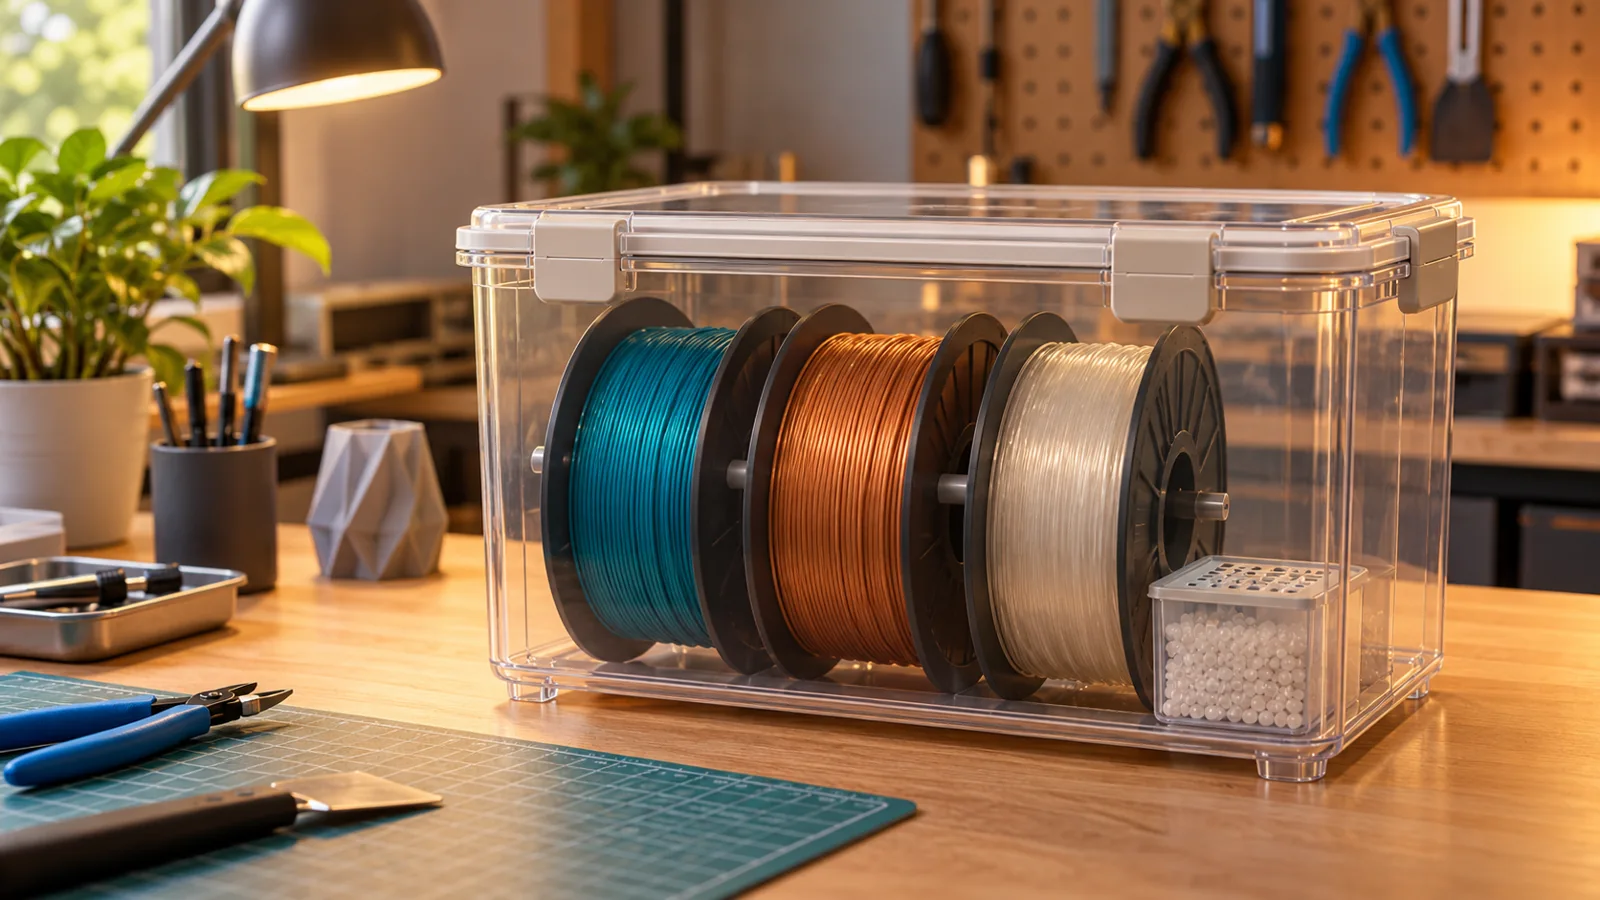
Choose SUNLU S2 for one spool, S4 for several, PolyDryer Box for a protected printer feed, and SainSmart eVacuum bags for sealed shelf storage. Match the drying temperature to the exact filament.
- Dry the spoolHeat + airflow
- Keep it drySeal + desiccant
- Humidity readingAir, not spool moisture
Your PETG part shouldn’t arrive wearing a spiderweb. Before you spend another evening tuning retraction, give the spool some attention: dry damp filament with heat, then keep it in sealed storage with desiccant. Those are two different jobs, and buying the right box makes both easier.
Specifications and drying guidance come from the makers, checked October 27, 2026.
Quick picks: match the box to the job
We earn a commission if you buy through our links — it doesn’t change our picks. How we make money → As an Amazon Associate I earn from qualifying purchases.
- One spool at a time: SUNLU FilaDryer S2. Choose it for a single-printer desk and materials whose drying instructions fit its 70°C maximum. You can feed the printer while drying.
- Several spools: SUNLU FilaDryer S4. Its four-spool capacity suits a rotation of colours or multiple printers. Group materials that share a drying temperature.
- Print from dry storage: Polymaker PolyDryer Box. Feed a dried spool from a sealed box with desiccant and a hygrometer. This listing is the storage box only; the heated Dry Dock is separate.
- Put spools away: SainSmart eVacuum storage kit. Vacuum bags, a hand pump, desiccant and humidity cards give your less-used colours a compact place to wait.
If you’re still choosing the machine, start with our 3D printer buying guide. Here, the shopping decision is what happens to the spool before, during and after a print.
Dryer, dry box or bag?
A dryer uses heat to remove absorbed moisture. A dry box protects filament from humid air while you print. A sealed bag does the storage job between projects. Some products combine those functions, but a clear lid and a humidity display alone don’t make a box a heated dryer.
| Pick | Best job | Heat | Capacity / fit | Print straight from it? |
|---|---|---|---|---|
| SUNLU S2 | Dry the next spool | Up to 70°C | One spool | Yes |
| SUNLU S4 | Prepare several colours or printer feeds | Up to 70°C | Up to four 1 kg spools | Yes; feed-out for up to four printers |
| PolyDryer Box PX01003 | Protect the spool while printing | None by itself; Dry Dock sold separately | Up to 205 mm spool diameter × 78 mm width | Yes |
| SainSmart eVacuum kit | Sealed shelf storage | None | 10 bags, hand pump, 15 desiccants and 15 humidity cards | No; remove the spool to use it |
The S2 specifications, S4 specifications, PolyDryer manual and SainSmart kit contents cover these features.
Start with the problem you actually have. A damp spool needs drying; a dry spool left open between prints needs better storage. If you regularly print moisture-sensitive material, a dryer plus a print-from box is a useful pair. For occasional PLA projects, sealed storage may be the first thing to fix.
Which filaments need drying most?
Give nylon and TPU first dibs on the dry box. PETG deserves attention too, particularly when it starts producing rough, stringy parts. PLA is less moisture-sensitive, so you can usually put more effort into protecting it between projects than into running a drying cycle before every small print.
Polymaker’s wet-filament guide explains the difference: these plastics absorb water from the surrounding air, and they don’t all do it at the same rate. At the hotend, absorbed water can become steam and disrupt extrusion.
Use your filament maker’s drying profile
Here are Prusa’s published profiles, checked October 27, 2026. Use them for the named materials; another maker’s PETG or nylon may need a different cycle. The last column compares the specified temperature with the two SUNLU dryers’ 70°C ceiling.
| Maker profile | Temperature | Time | S2 / S4 setpoint fit |
|---|---|---|---|
| Prusament PLA / rPLA | 45°C | 6 hours | Within 70°C maximum |
| Prusament PETG | 55°C | 6 hours | Within 70°C maximum |
| Prusa-listed TPU | 60°C | 4–6 hours | Within 70°C maximum |
| Prusament ASA | 80°C | 4 hours | Above 70°C maximum |
| Prusament PA11 Carbon Fiber | 90°C | 6 hours | Above 70°C maximum |
Source: Prusa’s drying temperatures, times and spool guidance.
That last row is the buying signal for engineering materials: neither shortlisted SUNLU dryer reaches the 90°C profile for Prusament PA11-CF. Choose higher-temperature equipment for that spool. “Supports nylon” on a product page is too broad to choose a dryer around; the exact filament profile tells you what temperature you need.
Respect the spool’s heat limit as well as the filament’s. Prusa documents extra preparation for its older spool designs at higher temperatures. Load compatible materials together, keep the dryer’s airflow clear and use the maker’s cycle instead of turning the temperature up to hurry things along.
What wet filament looks and sounds like
Listen for pops, hissing or sizzling during extrusion. Look for bubbles, a rough surface, inconsistent extrusion, extra stringing and weak layers. Polymaker lists these as moisture symptoms.
Stringing also has other causes. A useful troubleshooting move is to dry the spool with its recommended profile, then print the same small part with the same settings. Compare that result before changing retraction, temperature and speed together. You want one useful answer, not three new mysteries.
A sealed bag won’t quickly rescue a spool that already needs a heated cycle. Use the dryer first, then protect the result. That’s the small habit that stops the next project from starting with the same soggy spool.
Single-spool dryer: SUNLU S2
The S2 is the straightforward pick when you work through one spool at a time. It has upper and lower heating, a circulation fan, and a display for temperature, time and humidity. Its maximum is 70°C.
Set the cycle for the filament, route the strand smoothly to the printer and keep the filament path free of sharp bends. SUNLU’s S2 operating description explicitly supports printing while drying. That makes the S2 useful beside a printer, rather than just as somewhere to prepare tomorrow’s roll.
Buy it for your active spool. Use bags or a dry box for the colours waiting their turn.
Multi-spool dryer: SUNLU S4
Choose the S4 when swapping spools has become a job of its own. It holds up to four 1 kg rolls and supports feeding up to four printers. The chamber reaches 70°C.
Capacity is the advantage; the chamber temperature is shared. Put compatible spools through a cycle together. A PLA spool doesn’t belong in a hotter batch just because there’s an empty position beside the PETG.
Its humidity-controlled mode is another workflow option, but the filament’s recommended time and temperature still come first. Treat the display as a way to watch the chamber, and keep the unused rolls sealed afterward.
Print-from dry box: PolyDryer Box
The PolyDryer Box is the pick for keeping a dried spool protected while it feeds your printer. It has a desiccant compartment, a hygrometer and a filament outlet. Measure oversized spools against its 205 mm diameter and 78 mm width limit.
PX01003 is the box, without the heated dock. The PolyDryer range also includes the full dryer and a separate Dry Dock. Choose the box when you already have a drying method and want sealed storage you can print from.
Use the intended desiccant holder, close unused openings and fit the bottom airlocks for storage. The manual tells you to replace those airlocks tightly after removing the box from its dock. Loose beads belong in the holder, away from the spool path and heating equipment.
Sealed storage: SainSmart eVacuum kit
For colours you use occasionally, bags are easier to stack than a fleet of powered boxes. The SainSmart kit includes 10 vacuum bags, a hand pump, 15 desiccants and 15 humidity indicator cards.
Put a dry spool, desiccant and a card in a bag. Close the zipper fully with the sealing clip, place the valve flat, pump out the air and close the valve. Keep the filament tip secured so it stays tidy when you load the spool again.
The card is visible through the bag. Read its printed colour guide and refresh the desiccant when needed; follow the desiccant supplier’s own replacement or regeneration instructions. This is shelf storage, so take the spool out before printing.
Humidity: read the air, not the inside of the plastic
A hygrometer or humidity card measures the surrounding air. It doesn’t measure water inside the filament. A freshly heated chamber can show a lower relative humidity even before the whole spool has finished its drying cycle.
Vaisala explains why: relative humidity changes with temperature. Compare storage readings at similar temperatures, and finish the material’s recommended cycle instead of stopping because the display suddenly looks dry.
There’s no single humidity number here for every material and box. Watch for a rising storage reading, check the seal and service the desiccant. The SainSmart cards indicate the air around them across a 10–60% RH range; that range describes the card, not a universal target for your filament.
Already buying a P2S Combo? Use its AMS 2 Pro
The AMS 2 Pro dries spools in place, with a built-in heated drying module and a maximum of 65°C. If you’re choosing the P2S Combo, use that capability before adding a separate dryer for the same job.
For drying during a P2S print, Bambu requires the separate official power adapter; our P2S Combo section covers the power arrangement. Follow Bambu’s AMS drying instructions for mixed materials and supported modes.
Make the next spool ready
Label your stored spool with the material and drying date. Before the next project, check the bag or box, refresh tired desiccant, and use the filament’s drying cycle when it needs one. For a troublesome spool, keep the same small comparison print so you can see what changed.
Choose S2 for one active spool, S4 for several, PolyDryer Box for a protected printer feed, and eVacuum bags for the shelf. Give each colour somewhere dry to wait, then get back to making the brackets, cases and useful little fixes in the 3D printing lab.
Sources & methodology
Where these facts come from.
- SUNLU S2: temperature, fan and display · checked October 27, 2026
- SUNLU S2: printing while drying · checked October 27, 2026
- SUNLU S4: capacity, feed outlets and temperature · checked October 27, 2026
- Polymaker: storage box versus heated dock · checked October 27, 2026
- PolyDryer manual: dimensions, desiccant and airlocks · checked October 27, 2026
- Prusa: named filament drying profiles and spool preparation · checked October 27, 2026
- Polymaker: moisture symptoms and material sensitivity · checked October 27, 2026
- SainSmart eVacuum: bag kit, desiccant and humidity cards · checked October 27, 2026
- Vaisala: relative humidity and temperature · checked October 27, 2026
- Bambu Lab: AMS 2 Pro drying and power arrangements · checked October 27, 2026
Source dates are listed above.
As an Amazon Associate I earn from qualifying purchases.
Parts from this article
The gear, on Amazon
The models recommended above, with the specifications that matter for your choice.
Single-spool dryer
SUNLU FilaDryer S2
Dry one spool with adjustable heat, then feed it straight to your printer.
Multi-spool dryer
SUNLU FilaDryer S4
Prepare up to four spools together when they share a drying temperature.
Print-from dry box
Polymaker PolyDryer Box (PX01003)
Keep a dried spool sealed while it feeds your printer; add a Dry Dock separately for heat.
Sealed shelf storage
SainSmart eVacuum filament storage kit
Bag your dry spools with desiccant and a humidity card between projects.
Prepared by Racks & Watts.