ELECTRONICS / THE HANDS-ON CORNER
Build the circuit.
Make it yours.
A sensor for the lab. A cable that fits. A bare board ready for its own case. Build the bench, learn what the pins do and make something useful with ESP32, solder and a little curiosity.
Build your first bench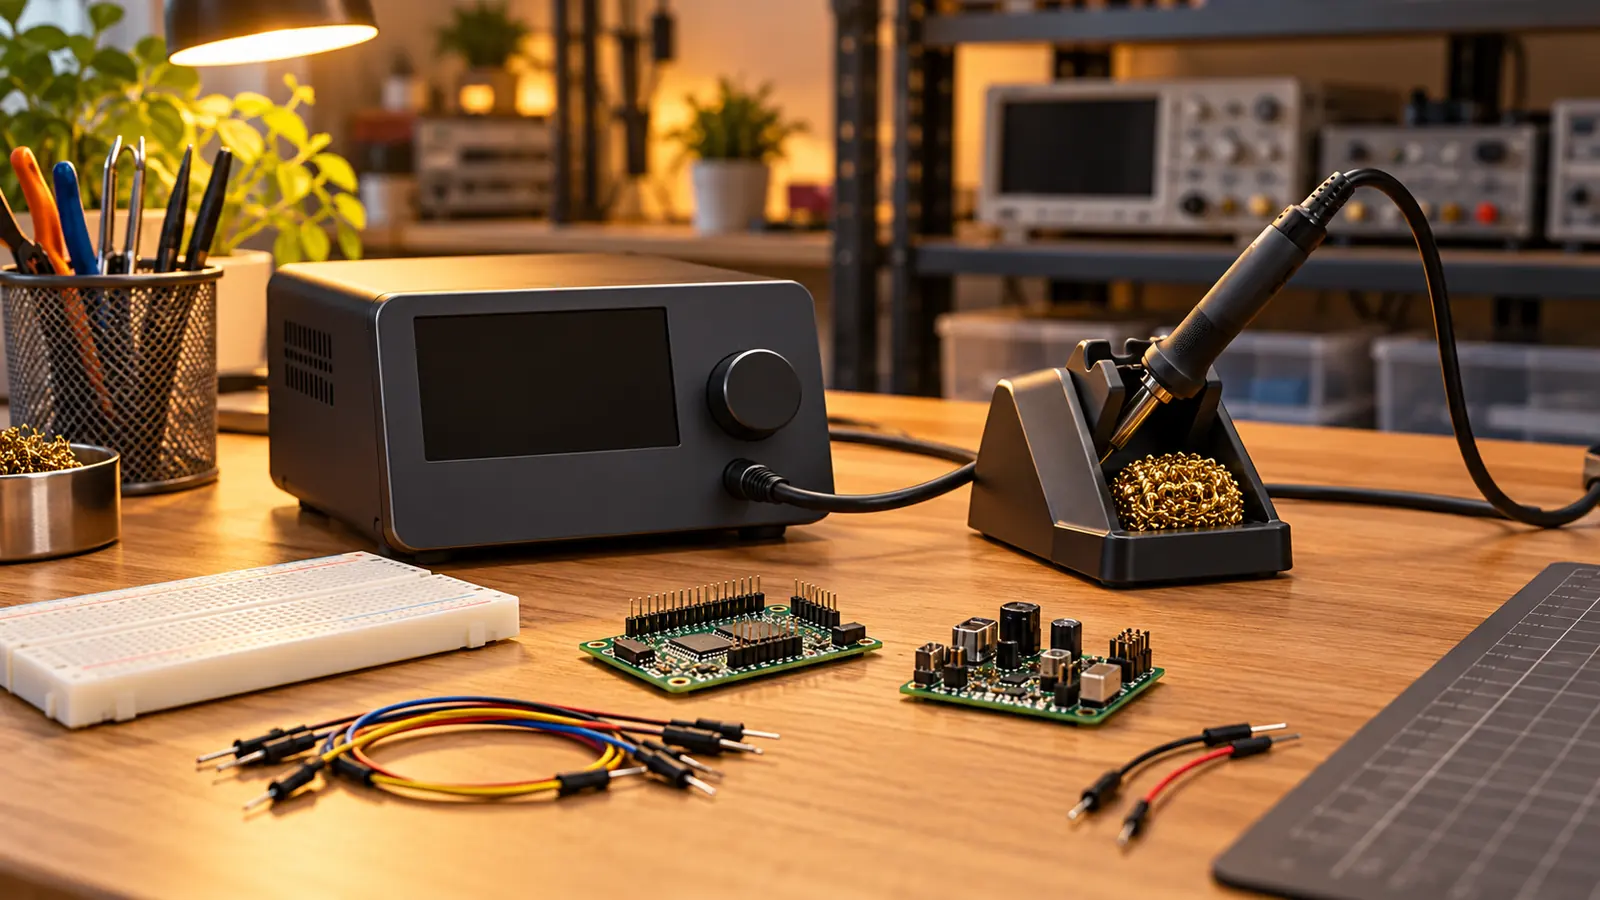
We earn a commission if you buy through our links — it doesn’t change our picks. How we make money → As an Amazon Associate I earn from qualifying purchases.
START HERE / TOOLS WITH A JOB
Your first electronics bench: soldering station, multimeter and ESP32 starter kit
Choose a temperature-controlled station, a meter for voltage and continuity, and a USB-C ESP32 kit. Add solder, flux and a holder, then make your first header joint and check the connection.
Get the complete bench list and first-session plan →
Station pick: Hakko FX888DX-010BY. Set the tip temperature with a rotary dial; the holder and cleaning wire are included.
Check price on Amazon →LOOK CLOSER / FIND THE TINY DETAIL
Choose a microscope for your bench.
A screen at the stand or a USB camera on the laptop: pick the viewing path, leave room for tools and get a useful look at the board.
TAKE THE NEXT STEP
Give the tools a project.
See the rail and the signal
Choose a first oscilloscope by its connections and channel limits, then compensate a probe and capture a low-voltage signal.
Read what the pins are saying
Choose a USB logic analyzer, capture a sensor bus and turn I2C, SPI or UART transitions into readable transactions.
Give the supply a job
Choose a DC electronic load, set a small current draw and record what a low-voltage supply does under load.
Build your first ESPHome sensor
Wire temperature, motion and light to a XIAO ESP32C3, flash the configuration and bring the readings into Home Assistant. Then try a Bluetooth proxy.
Build an off-grid radio
Start with a supported radio board, then follow the solar relay parts list when you want a bigger project.
Give the board a home
Plan the board, battery and antenna exits before printing a case. Explore more useful parts in the 3D printing lab.
COMING NEXT / MORE TO MAKE
Keep a little bench space free.
Solder your first connectors
Headers, wire joints and the tools for making them tidy.
Put the project on a current limit
Choose one rail or several, set voltage and current deliberately, and debug the power path.
All electronics guides → Explore the radio corner → The rest of the lab →