SDR / THE SIGNAL IS ALREADY THERE
Plug in a radio.
See what arrives.
Aircraft overhead. Sensors sending little bursts of data. A software-defined radio turns a USB port into a new corner of the lab. Match the antenna, choose the decoder and give those signals somewhere useful to go.
Build your first receiver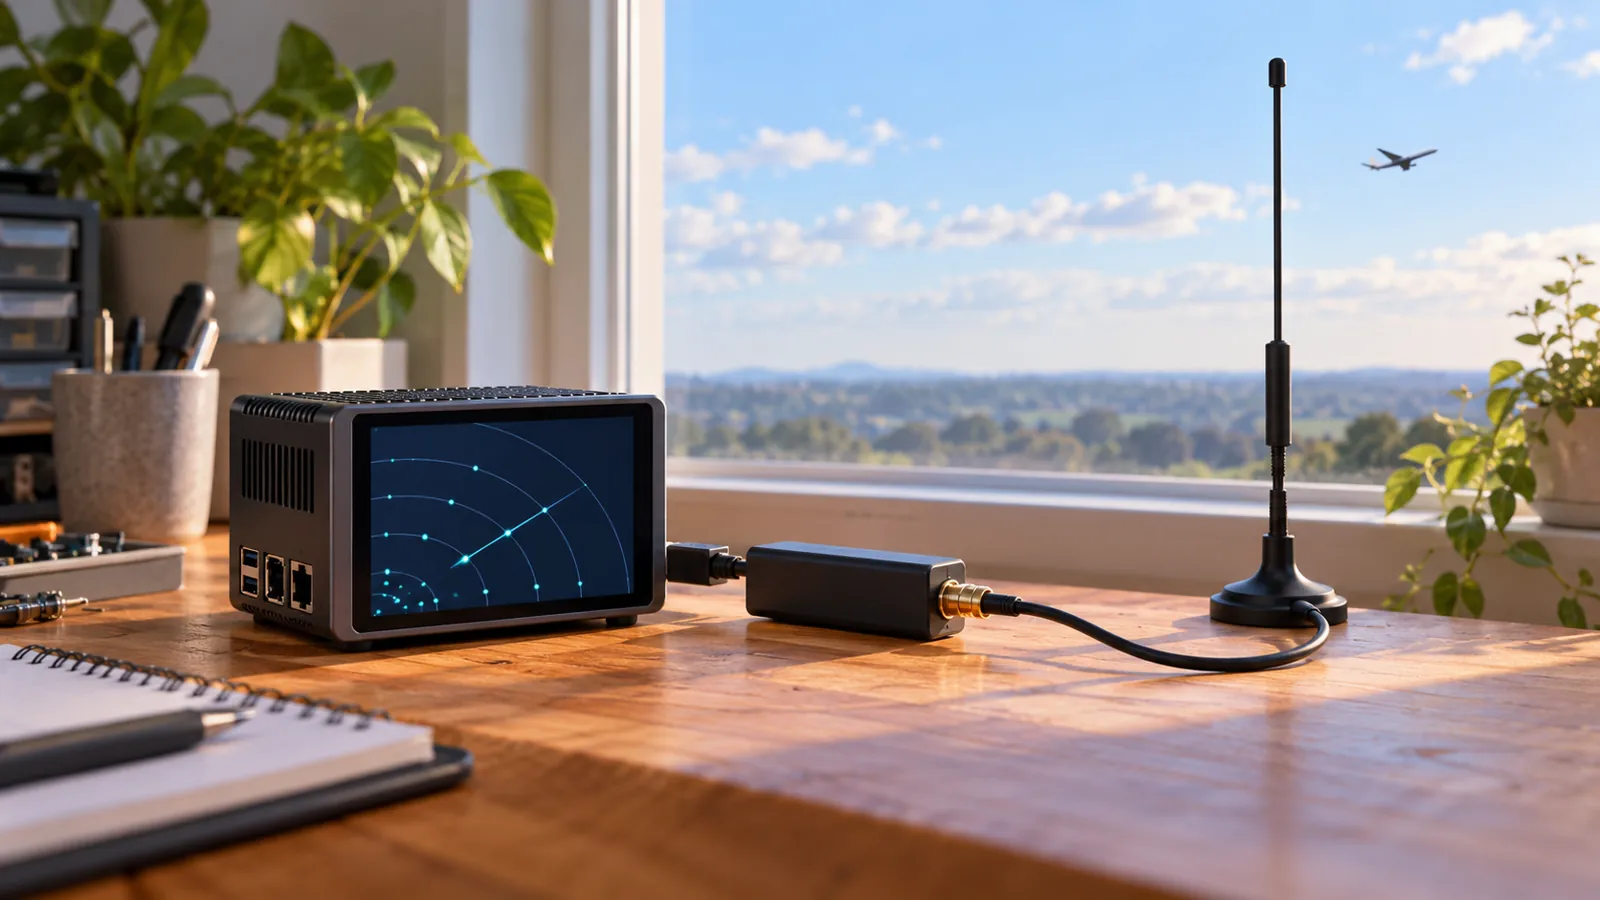
We earn a commission if you buy through our links — it doesn’t change our picks. How we make money → As an Amazon Associate I earn from qualifying purchases.
START HERE / WATCH THE SKY
Track planes from home: ADS-B receiver on a Raspberry Pi 5
Build the complete Pi 5 NVMe host, connect a 1090 MHz antenna and bring aircraft messages into a local tar1090 map. The guide covers the receiver choices, included coax and a practical first check.
Get the parts and receiver setup →
Reusable radio pick: RTL-SDR Blog V3 with dipole antenna kit. Save its dipole kit for other bands; the aircraft build uses a dedicated 1090 MHz antenna.
Check price on Amazon →MORE TO EXPLORE
Give the radio another job.
Decode weather sensors
Match a supported sensor and its frequency to rtl_433, then bring its readings into a dashboard.
Plan the Pi hardware
See how the board, power supply, cooler, NVMe and case fit. The aircraft receiver runs Raspberry Pi OS.
Choose your receiver and antenna
Start with a dipole kit, then match a dedicated antenna to aircraft, sensors or scanning.
Build the bench around it
Make room for tools, small boards and the next radio project at the electronics bench.
KEEP TUNING / FIX THE RF CHAIN
Small changes. Better reception.
Filters, LNAs and receiver gain
Fix FM overload, add filtered aircraft amplification and plan the DC path before enabling a bias tee.
All SDR guides → Explore off-grid messaging → The rest of the lab →