SDR
Track planes from home: ADS-B receiver on a Raspberry Pi 5
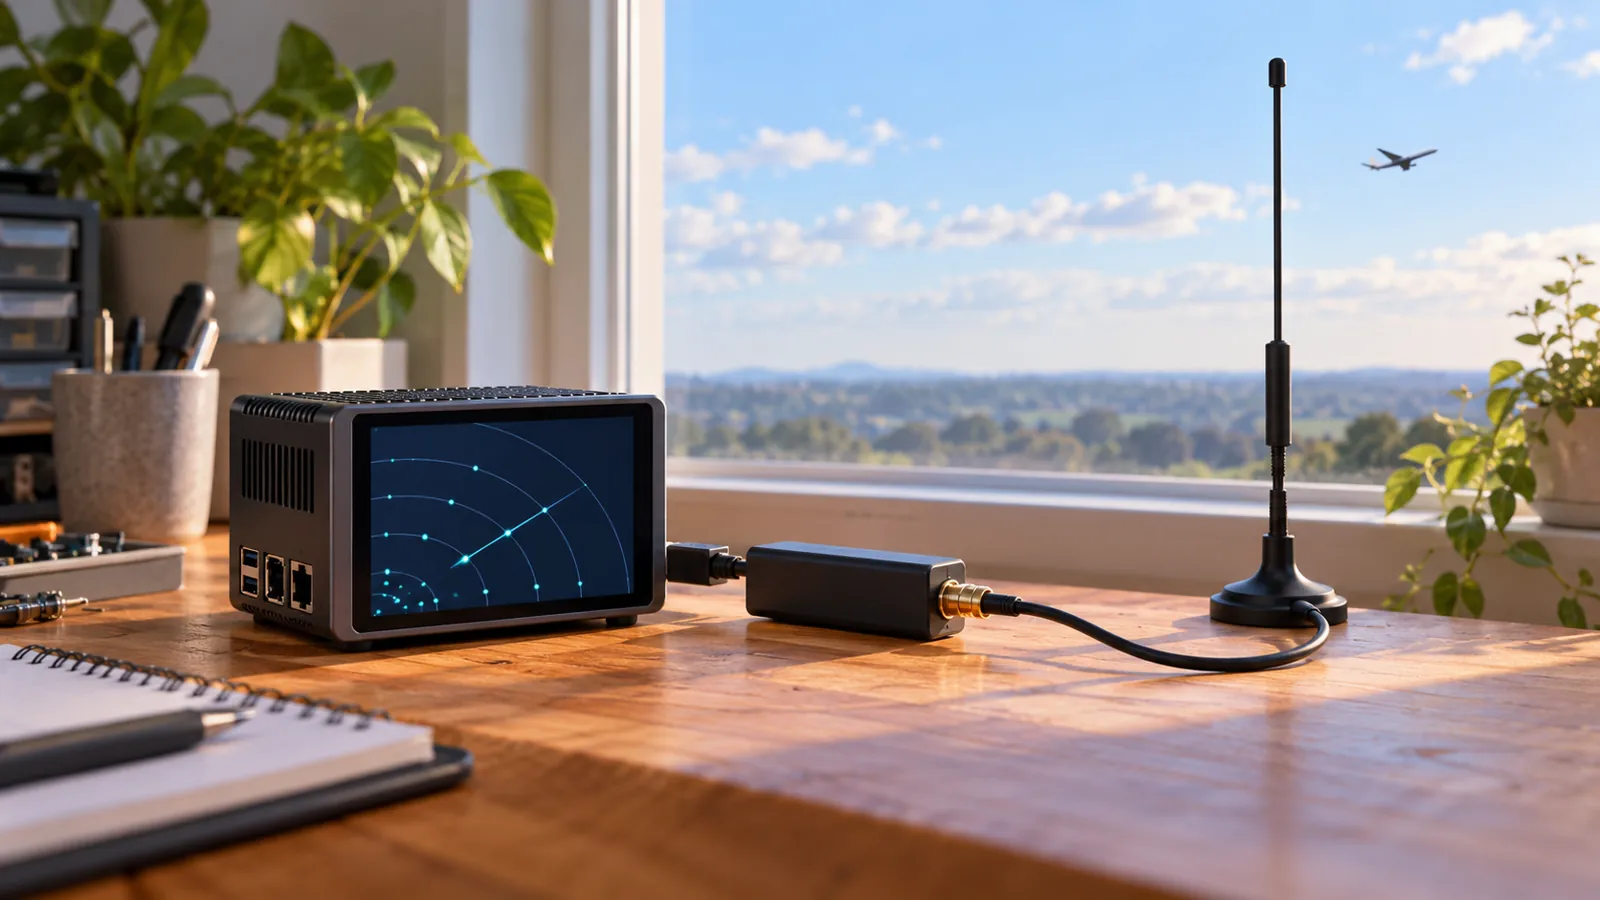
Build a receive-only ADS-B station with a complete Pi 5 NVMe kit, USB SDR and 1090 MHz antenna. Set up readsb and tar1090, then improve antenna placement.
OUR PICKS / YOUR SETUP
Find your fit.
Choose the complete Pi 5 NVMe stack and RTL-SDR Blog V3 for a reusable radio, or AirNav FlightStick 1090 for a dedicated filtered receiver. Add the AirNav 1090 antenna with its included SMA coax; buy one receiver, not both.
- Receive1090 MHz ADS-B
- HostPi 5 · NVMe
- Decode / displayreadsb + tar1090
We earn a commission if you buy through our links — it doesn’t change our picks. How we make money → As an Amazon Associate I earn from qualifying purchases.
YOUR NEXT PROJECT / THE GEAR
Parts list
- Raspberry Pi 5 8GBCheck price on Amazon
Quad-core Pi 5 with Gigabit Ethernet, PCIe for NVMe and USB ports for connected hardware.
- Raspberry Pi 27W USB-C Power SupplyCheck price on Amazon
The official 5.1 V 5 A supply for a Pi 5 driving an SSD and USB devices.
- Raspberry Pi Active CoolerCheck price on Amazon
Clip-on heatsink and temperature-controlled fan; the M.2 HAT+ stacks above it.
- Raspberry Pi M.2 HAT+Check price on Amazon
Connects a 2230 or 2242 NVMe SSD to the Pi 5 PCIe connector.
- Kingston NV3 500GB M.2 2230 NVMe SSD (SNV3SM3/500G)Check price on Amazon
A 2230 NVMe drive that fits the M.2 HAT+ and the Argon case.
- Official Raspberry Pi 5 caseCheck price on Amazon
Use the base for a standard M.2 HAT+ stack with the lid and supplied case fan removed.
- RTL-SDR Blog V3 with dipole antenna kitCheck price on Amazon
R860 tuner, 1 PPM TCXO and a dipole kit with mounts for better antenna placement.
- AirNav 1090 MHz outdoor ADS-B antenna (ANTADSBEXTSMA)Check price on Amazon
A dedicated vertical aircraft antenna with a mounting bracket and 30-foot SMA coax lead included.
- AirNav FlightStick 1090 MHz ADS-B USB receiver (RBFS1)Check price on Amazon
Choose this instead of the general-purpose radio for a dedicated 1090 MHz receiver with filtering and amplification built in.
The little aircraft on a flight-tracking map can start with a radio on your desk. A USB receiver catches the broadcasts, a Raspberry Pi decodes them, and a browser turns the results into something much more entertaining than another empty dashboard.
Build around the Pi 5 8GB, its official 27W supply, Active Cooler and a 2230 NVMe drive on the standard M.2 HAT+. Choose the RTL-SDR Blog V3 kit for a radio you can reuse on other bands, or AirNav’s 1090 MHz FlightStick for dedicated aircraft reception with filtering and amplification built in. Add the AirNav 1090 MHz antenna; its coax is included.
Research guide: maker specifications and readsb/tar1090 documentation, checked October 31, 2026.
This is a receive-only project: follow your local reception rules and never transmit on aviation frequencies.
If the next upgrade is a filter or amplifier, use the RTL-SDR filters and LNA guide to choose the RF path and bias-tee power.
What you’re receiving
ADS-B-equipped aircraft broadcast information that a receiver can decode. This build concentrates on 1090 MHz. The FAA explains the distinction between 1090ES and 978 MHz UAT; a 1090 MHz setup is not a simultaneous two-band receiver.
readsb does the decoding. tar1090 is the web interface that displays the results, including aircraft tracks and history. You can start with a local receiver and map; joining a public flight-data service is a separate decision.
The complete Pi 5 and radio list
Choose one of the two receivers. The other rows make up the host and antenna system.
| Job | Part | Why it fits |
|---|---|---|
| Host | Raspberry Pi 5 8GB | Runs Raspberry Pi OS and the receiver software, with Ethernet for the local map |
| Power | Official Raspberry Pi 27W USB-C supply | Provides the Pi’s 5.1V, 5A power profile |
| Cooling | Raspberry Pi Active Cooler | Heatsink and temperature-controlled blower on the Pi’s fan header |
| NVMe adapter | Standard Raspberry Pi M.2 HAT+ | Accepts 2230/2242 drives and leaves space for the Active Cooler |
| Storage | Kingston NV3 500GB 2230, SNV3SM3/500G | The short NVMe format that fits this HAT+ |
| Case | Official Pi 5 case base | Use it with the lid and supplied case fan removed for the standard HAT+ stack |
| Reusable receiver | RTL-SDR Blog V3 with dipole kit | R860/RTL2832U radio with an SMA input; choose this for later experiments on other bands |
| Dedicated receiver alternative | AirNav FlightStick 1090 MHz, RBFS1 | Integrated 1090 MHz band-pass filter, amplifier and ESD protection |
| Antenna and coax | AirNav 1090 MHz outdoor antenna, ANTADSBEXTSMA | Vertical antenna, mounting bracket and 30-foot SMA coax lead included |
Make the Pi stack fit
The standard M.2 HAT+ documentation is quite specific: 2230 or 2242, not a long 2280 SSD. Its spacers leave room for the Active Cooler underneath. In the official Pi case, remove the lid and the case’s supplied fan; this is an open stack, not a closed weatherproof enclosure.
The Kingston datasheet identifies SNV3SM3/500G as the 500GB 2230 drive. The official supply delivers 5.1V at 5A for the Pi. The Pi’s profile is 25.5W; the supply’s 27W name also covers its other PD profiles. Connect the Active Cooler to the dedicated fan header before adding the HAT+.
Our Pi 5 NVMe build guide shows the hardware fit in more detail. Use that hardware stack here, then install Raspberry Pi OS, rather than the Home Assistant OS used in that guide.
Which USB receiver should you pick?
The RTL-SDR Blog V3 is the flexible pick. Its maker page lists the R860 tuner, RTL2832U chip, temperature-compensated oscillator and female SMA antenna connector. The kit also includes a dipole and mounts for other radio projects; this aircraft build uses the dedicated AirNav antenna instead.
The AirNav FlightStick 1090 MHz is the dedicated pick. AirNav documents an integrated band-pass filter and 20.5 dB internal amplifier, plus Raspberry Pi compatibility. Choose the 1090 model, not the similarly named 978 MHz or VHF sticks. Its filter and amplifier are already inside the receiver, so it doesn’t need a second powered box just to get started.
For a V3 build, start with the passive antenna and sensible placement before adding an external filter or LNA. Leave the V3’s bias tee off: that feature sends power up the coax for a compatible powered accessory, which this passive antenna doesn’t need. The V3 power guidance explains the difference.
Antenna, coax and connectors: keep the path simple
The AirNav 1090 MHz antenna is a 66 cm vertical antenna with a maker-rated 7 dBi gain. It includes a mounting bracket and 30 feet of coax, about 9.1 m, ending in an SMA connector. You don’t need a separate N-to-SMA cable for this SKU.
Attach the included SMA lead to the receiver’s matching input. SMA and RP-SMA use different centre contacts; don’t add a Wi-Fi adapter simply because its threads look familiar. Support the coax so its weight isn’t hanging from the USB stick.
Start with the antenna upright beside a window, with as much clear sky around it as practical. Then try a higher accessible position. FlightAware’s placement guidance favours height and an unobstructed view, with an upper-floor window as a useful alternative to a roof installation. Keep the Pi indoors; secure any outdoor mounting and weatherproof the exposed cable connections.
Set up readsb and your local map
1. Assemble and boot from NVMe
Fit the cooler, HAT+ and SSD with power disconnected. Connect Ethernet for the first setup. Follow Raspberry Pi’s NVMe boot instructions to write Raspberry Pi OS Lite, 64-bit to the SSD using Imager. With an up-to-date bootloader, the Ethernet Network Installer can run Imager without an SD-card installation. Follow the linked bootloader guidance if that option isn’t available yet.
In Imager, create your own login and enable SSH if you want to finish from another computer. Once the Pi boots, update it:
sudo apt update
sudo apt full-upgrade -y
sudo reboot
2. Connect the radio and install the decoder
Connect the antenna lead, then plug your chosen USB receiver into the Pi. Use a fresh receiver setup: only one decoder can own the SDR at a time.
Open the project’s automatic readsb installation guide. Its installer sets up readsb and tar1090. Download and inspect that project’s script, then run it:
wget -O /tmp/readsb-install.sh https://github.com/wiedehopf/adsb-scripts/raw/master/readsb-install.sh
less /tmp/readsb-install.sh
sudo bash /tmp/readsb-install.sh
sudo reboot
The installer replaces competing decoders, so don’t run it over another receiver service you intend to keep. Follow its Configure location step privately on your receiver; there is no need to publish that information to get started with the local map.
3. Check reception before changing gain
The installer documents automatic gain adjustment. Select it and inspect the service:
sudo readsb-gain auto
systemctl status readsb --no-pager
sudo journalctl --no-pager -u readsb
Look for an active service, a detected receiver and incoming messages. If the log says another process owns the radio, stop that competing decoder before retrying. Don’t launch a separate SDR test program while readsb is using the same stick.
4. Open tar1090
Use the local web address reported by the installation and the current tar1090 access instructions. The decoder supplies the aircraft data; the web interface draws it. Open that page from another device on the same network and look for updating messages and tracks when suitable aircraft are within reception.
Keep the interface local. Public feeding, remote access and map sharing can wait until the receiver itself is working.
Your first reception check
Change one thing at a time. Try two antenna positions over comparable periods, note the message activity and directions where tracks appear, and watch what changes. Traffic varies, so a quieter few minutes alone doesn’t tell you which position is better.
If nothing appears, work along the chain: Pi power and boot, receiver detection, the coax connection, then antenna placement. If messages arrive but few tracks appear, check the available traffic and view of the sky before assuming the software is broken. A better view of the sky is the first upgrade to try.
Once the aircraft map is ticking along, the same general-purpose V3 can become a different project: our rtl_433 receiver guide covers supported weather sensors on their own frequencies. Use a separate receiver if you want both jobs running at once. Explore the SDR hub for the radio corner of the lab, or the plug-in power-meter guide to measure the whole receiver at the wall.
For a radio you can reuse beyond aircraft, our RTL-SDR starter kit and antenna guide matches receivers, dipoles and dedicated antennas to the job.
Sources & methodology
Where these facts come from.
- Raspberry Pi standard M.2 HAT+ drive sizes, cooler/case fit and NVMe boot · checked October 31, 2026
- Official Raspberry Pi 27W supply profiles · checked October 31, 2026
- Raspberry Pi Active Cooler fan-header connection · checked October 31, 2026
- Kingston NV3 2230 part number and dimensions · checked October 31, 2026
- RTL-SDR Blog V3 receiver and dipole-kit contents · checked October 31, 2026
- RTL-SDR V3 bias-tee power guidance · checked October 31, 2026
- AirNav FlightStick integrated filter, amplifier and Pi compatibility · checked October 31, 2026
- AirNav 1090 MHz antenna, included coax and mounting bracket · checked October 31, 2026
- FlightAware antenna placement guidance · checked October 31, 2026
- Project readsb installer, gain, logs and bundled tar1090 · checked October 31, 2026
- readsb RTL-SDR decoder project · checked October 31, 2026
- tar1090 display and web-interface access · checked October 31, 2026
- Raspberry Pi Imager and headless setup · checked October 31, 2026
- FAA ADS-B 1090ES versus 978 MHz UAT · checked October 31, 2026
- Molex SMA versus reverse-polarity connector mating · checked October 31, 2026
Source dates are listed above.
As an Amazon Associate I earn from qualifying purchases.
YOUR NEXT PROJECT / THE GEAR
Parts list
- Raspberry Pi 5 8GBCheck price on Amazon
Quad-core Pi 5 with Gigabit Ethernet, PCIe for NVMe and USB ports for connected hardware.
- Raspberry Pi 27W USB-C Power SupplyCheck price on Amazon
The official 5.1 V 5 A supply for a Pi 5 driving an SSD and USB devices.
- Raspberry Pi Active CoolerCheck price on Amazon
Clip-on heatsink and temperature-controlled fan; the M.2 HAT+ stacks above it.
- Raspberry Pi M.2 HAT+Check price on Amazon
Connects a 2230 or 2242 NVMe SSD to the Pi 5 PCIe connector.
- Kingston NV3 500GB M.2 2230 NVMe SSD (SNV3SM3/500G)Check price on Amazon
A 2230 NVMe drive that fits the M.2 HAT+ and the Argon case.
- Official Raspberry Pi 5 caseCheck price on Amazon
Use the base for a standard M.2 HAT+ stack with the lid and supplied case fan removed.
- RTL-SDR Blog V3 with dipole antenna kitCheck price on Amazon
R860 tuner, 1 PPM TCXO and a dipole kit with mounts for better antenna placement.
- AirNav 1090 MHz outdoor ADS-B antenna (ANTADSBEXTSMA)Check price on Amazon
A dedicated vertical aircraft antenna with a mounting bracket and 30-foot SMA coax lead included.
- AirNav FlightStick 1090 MHz ADS-B USB receiver (RBFS1)Check price on Amazon
Choose this instead of the general-purpose radio for a dedicated 1090 MHz receiver with filtering and amplification built in.
Prepared by Racks & Watts.