SDR
SDR filters and LNAs for an RTL-SDR on a Pi 5: fix overload before adding gain
Choose an FM notch or a filtered 1090 MHz LNA for an RTL-SDR Pi 5 receiver. Compare DC limits, bias-tee wiring and a complete NVMe host kit.
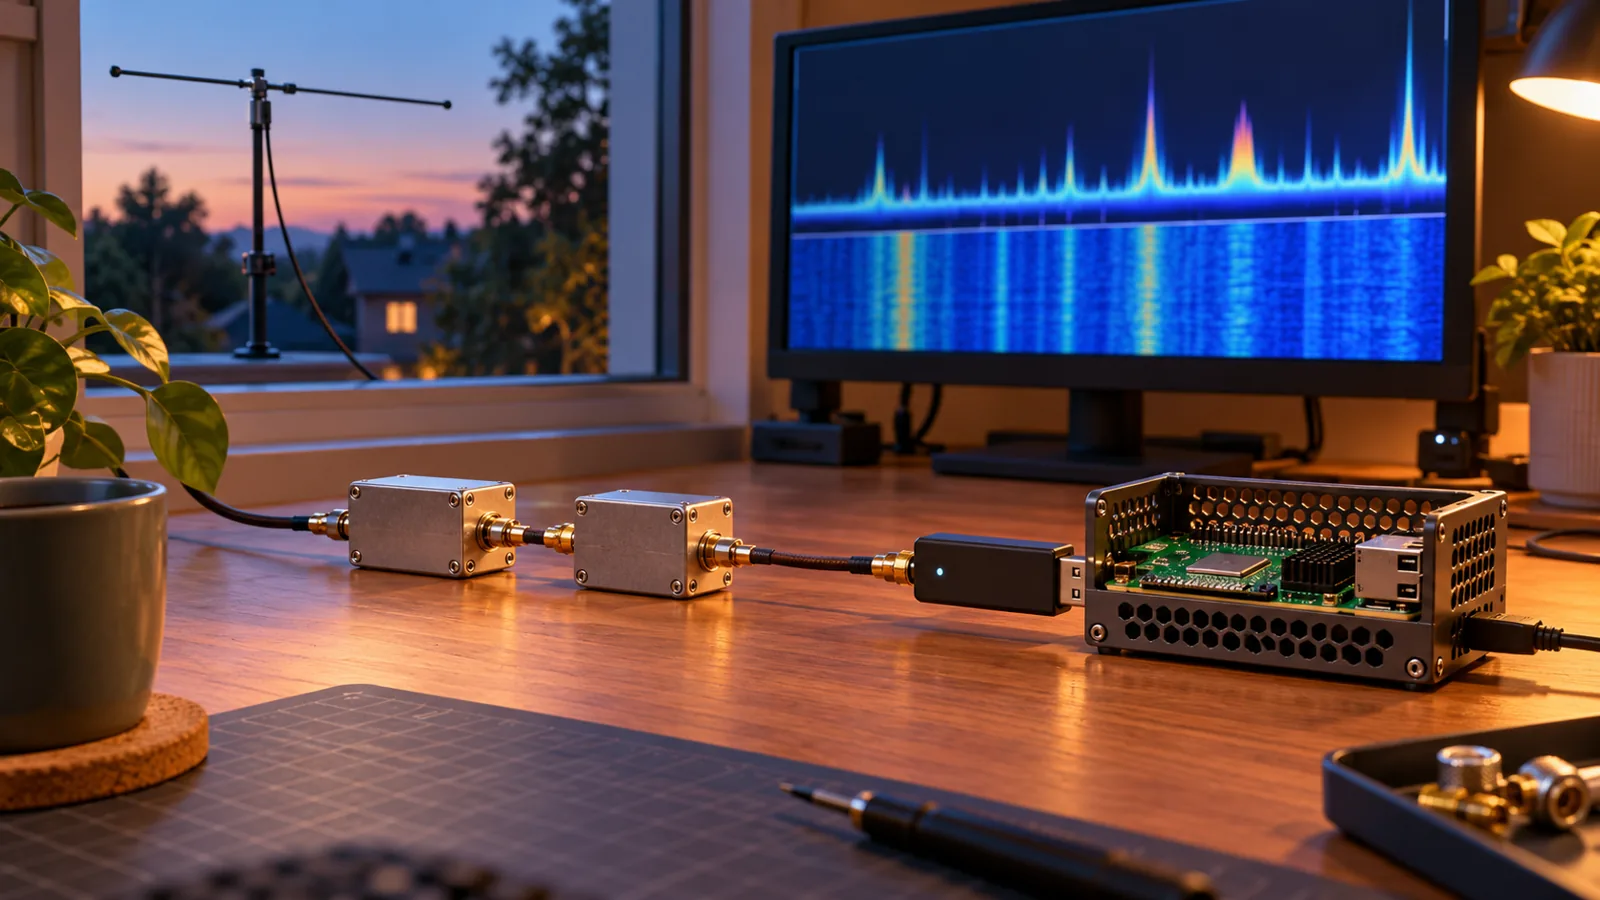
OUR PICKS / YOUR SETUP
Find your fit.
Use an RTL-SDR Blog FM notch for passive FM cleanup, Flamingo FM when you need its documented DC pass-through capacity, or SAWbird+ ADS-B for filtered 1090 MHz amplification. Keep bias-tee power and RF direction explicit.
- FM cleanup88–108 MHz notch
- Aircraft path1090 MHz · filtered LNA
- V3 bias tee4.5 V · up to 180 mA
We earn a commission if you buy through our links — it doesn’t change our picks. How we make money → As an Amazon Associate I earn from qualifying purchases.
YOUR NEXT PROJECT / THE GEAR
Parts list
- RTL-SDR Blog broadcast FM block filterCheck price on Amazon
Choose this notch filter for a passive receive chain troubled by broadcast FM.
- Nooelec Flamingo FM (100780)Check price on Amazon
Choose Flamingo FM when the signal path also needs its documented DC pass-through capacity.
- Nooelec SAWbird+ ADS-B (100847)Check price on Amazon
Choose the dedicated ADS-B channel for filtered amplification of a 1090 MHz receiver.
More gain is a tempting fix for a quiet receiver. When broadcast FM is already swamping it, more gain turns up the problem. Choose an FM notch for overload, or a filtered 1090 MHz LNA for an aircraft receiver that needs amplification. Sort the signal path and the DC power path before connecting the next box.
Maker specifications and official setup documentation, checked November 1, 2026; this is a research-based guide.
This is receive-only: use the receive bands permitted where you are and follow local rules.
Filter or amplifier: choose the job
FM-shaped interference appears on other frequencies as you increase gain: start by reducing gain and trying a broadcast FM notch. RTL-SDR Blog describes that pattern as an overload symptom. A passive filter rejects unwanted signals; it doesn’t need power to do that job.
A dedicated aircraft receiver needs a filtered amplifier: choose SAWbird+ ADS-B and use its marked 1090 MHz path. Its separate 978 MHz UAT path serves a different receiver connection. The box has two RF paths, not a way to make one dongle decode both bands at once.
Antenna choice still comes first. Use the RTL-SDR starter kit and antenna guide to match the band and connectors, then add the RF part that solves your next problem.
Compare the RF picks
| Pick | Fit | Maker-documented RF job | DC detail that matters |
|---|---|---|---|
| RTL-SDR Blog FM block | Passive FM cleanup | Rejects 88–108 MHz | Up to 80 mA pass-through |
| Nooelec Flamingo FM, 100780 | FM notch with documented DC headroom | Broadcast FM bandstop; over 40 dB typical rejection | 250 mA minimum pass-through rating |
| Nooelec SAWbird+ ADS-B, 100847 | Filtered aircraft amplification | Separate 1090 MHz and 978 MHz paths; 34 dB typical gain on the ADS-B path | One bias-powered channel: 140 mA nominal, 160 mA maximum at the datasheet’s test conditions |
Start with the RTL-SDR Blog filter for the simple passive chain. Choose Flamingo FM when the path also needs its higher documented DC pass-through capacity. Choose SAWbird for the dedicated aircraft amplifier job. Rejection and amplifier gain describe different things; the table keeps them separate.
The RTL-SDR Blog filter notes, Flamingo specifications and SAWbird datasheet supply those ratings.
Wire the passive FM path
Antenna -> FM notch -> RTL-SDR V3 -> USB -> Pi 5
                         bias tee OFF
Both shortlisted FM filters have female SMA connectors and include a male-to-male SMA barrel adapter. Use that adapter to mate a filter to the receiver, or use a suitable short patch lead when you want less rigid hardware hanging from the dongle.
The notch also removes the stations you might want to hear in the broadcast FM band. Take it out for that listening job. For other receive bands, compare reception with and without it rather than adding more boxes by habit.
A DC pass-through rating says what the filter can carry along the coax; it doesn’t turn the filter into a power supply. Flamingo’s maker page documents that distinction and its rating.
Wire the aircraft LNA and its power
For the shown V3 build, use the receiver’s bias tee and leave the LNA’s external power inputs disconnected:
Passive 1090 MHz antenna
  -> SAWbird 1090 INPUT
  -> SAWbird 1090 OUTPUT
  -> coax / matching SMA lead
  -> RTL-SDR V3 (bias tee ON)
  -> USB -> Pi 5
Put the amplifier near the antenna when practical, ahead of the longer coax run. Nooelec’s suggested setup diagrams show that arrangement. Secure the connections so the dongle isn’t carrying the weight of a cable run. Use standard SMA, not a look-alike RP-SMA connector; the antenna guide’s adapter section covers that shopping step.
The V3 user guide specifies a software-controlled 4.5 V bias tee, up to 180 mA continuously. Enable it using the maker’s documented control after connecting the powered module. Keep it off when the receiver is connected directly to a passive antenna.
Keep the 80 mA RTL-SDR FM filter out of this LNA’s DC supply path. SAWbird’s documented current exceeds that rating. The separate chains above don’t put it there.
SAWbird can instead use external micro-USB power, which energizes both RF paths: its datasheet lists 300 mA nominal and 320 mA maximum for USB power. Bias power energizes only the connected path. Choose one power source at a time; for the external route, turn receiver bias power off and follow the maker’s external-power setup. The SAWbird product page documents the supply options; the datasheet distinguishes the two-channel USB load from a single bias-powered channel.
Complete Pi 5 host, if you need one
Already have a working receiver host? Keep it. For a new Pi build, use the complete NVMe stack below and Raspberry Pi OS. Follow the ADS-B Pi 5 guide for installation and decoder setup.
| Part | Job in the build |
|---|---|
| Raspberry Pi 5 8 GB | Receiver host |
| Official 27 W USB-C PSU | Proper Pi power supply |
| Raspberry Pi Active Cooler | Cooling beneath the HAT+ |
| Standard M.2 HAT+ | NVMe adapter for the Pi |
| Kingston NV3 500 GB, 2230 | NVMe boot drive |
| Official Pi 5 case | Base and frame for the open stack |
| RTL-SDR Blog V3 kit | Reusable receiver; save the dipole kit for other bands |
The standard HAT+ takes 2230/2242 drives and leaves room for the Active Cooler. With this official case, remove the lid and its supplied fan; keep the Active Cooler beneath the HAT+. Raspberry Pi’s HAT+ fit instructions show why this is an open stack. The Pi kit guide covers the hardware choices; this SDR build uses Pi OS, not Home Assistant OS.
Change one thing, then compare reception
- Record a baseline. Keep the antenna, frequency and decoder configuration fixed. Note useful decoded messages and the interference you’re trying to remove.
- Try the matching change. For FM overload, compare the passive notch in and out. For the aircraft chain, test the correctly powered LNA, then adjust receiver gain.
- Look for useful results. Prefer cleaner decoding to a taller signal display. If adding gain makes the result worse, reduce receiver gain and recheck the path.
- Repeat equal observation windows. Aircraft traffic changes; give each configuration another turn before choosing the one to keep.
- Label the power route. Mark the lead that carries bias power so the next antenna swap starts with the right setting.
Filter the unwanted signal; amplify the wanted band; give DC one clear route. That’s a better upgrade plan than turning every gain control to maximum. Explore the SDR hub for the next receive project.
Sources & methodology
Where these facts come from.
- RTL-SDR Blog FM notch and DC-current limit · checked November 1, 2026
- Nooelec Flamingo FM rejection, connectors and DC pass-through · checked November 1, 2026
- Nooelec SAWbird+ ADS-B power inputs and model identity · checked November 1, 2026
- SAWbird+ ADS-B datasheet: channel ports, current and gain · checked November 1, 2026
- RTL-SDR Blog V3 software bias-tee voltage and current · checked November 1, 2026
- Nooelec SMA cable kit connector list · checked November 1, 2026
- Raspberry Pi standard M.2 HAT+ drive sizes, cooler/case fit and NVMe boot · checked October 31, 2026
- Official Raspberry Pi 27W supply profiles · checked October 31, 2026
- Raspberry Pi Active Cooler fan-header connection · checked October 31, 2026
- Kingston NV3 2230 part number and dimensions · checked October 31, 2026
- Nooelec suggested SAWbird placement and power diagrams · checked November 1, 2026
- Raspberry Pi 5 RAM variants, USB ports and Pi OS support · checked November 1, 2026
Source dates are listed above.
As an Amazon Associate I earn from qualifying purchases.
YOUR NEXT PROJECT / THE GEAR
Parts list
- RTL-SDR Blog broadcast FM block filterCheck price on Amazon
Choose this notch filter for a passive receive chain troubled by broadcast FM.
- Nooelec Flamingo FM (100780)Check price on Amazon
Choose Flamingo FM when the signal path also needs its documented DC pass-through capacity.
- Nooelec SAWbird+ ADS-B (100847)Check price on Amazon
Choose the dedicated ADS-B channel for filtered amplification of a 1090 MHz receiver.
Prepared by Racks & Watts.