Meshtastic
Build a solar Meshtastic repeater node: full parts list
Build a solar Meshtastic relay around RAK WisBlock: matching antenna, panel, battery, enclosure and mounts, with a calculated power budget and CLIENT setup.
OUR PICKS / YOUR SETUP
Find your fit.
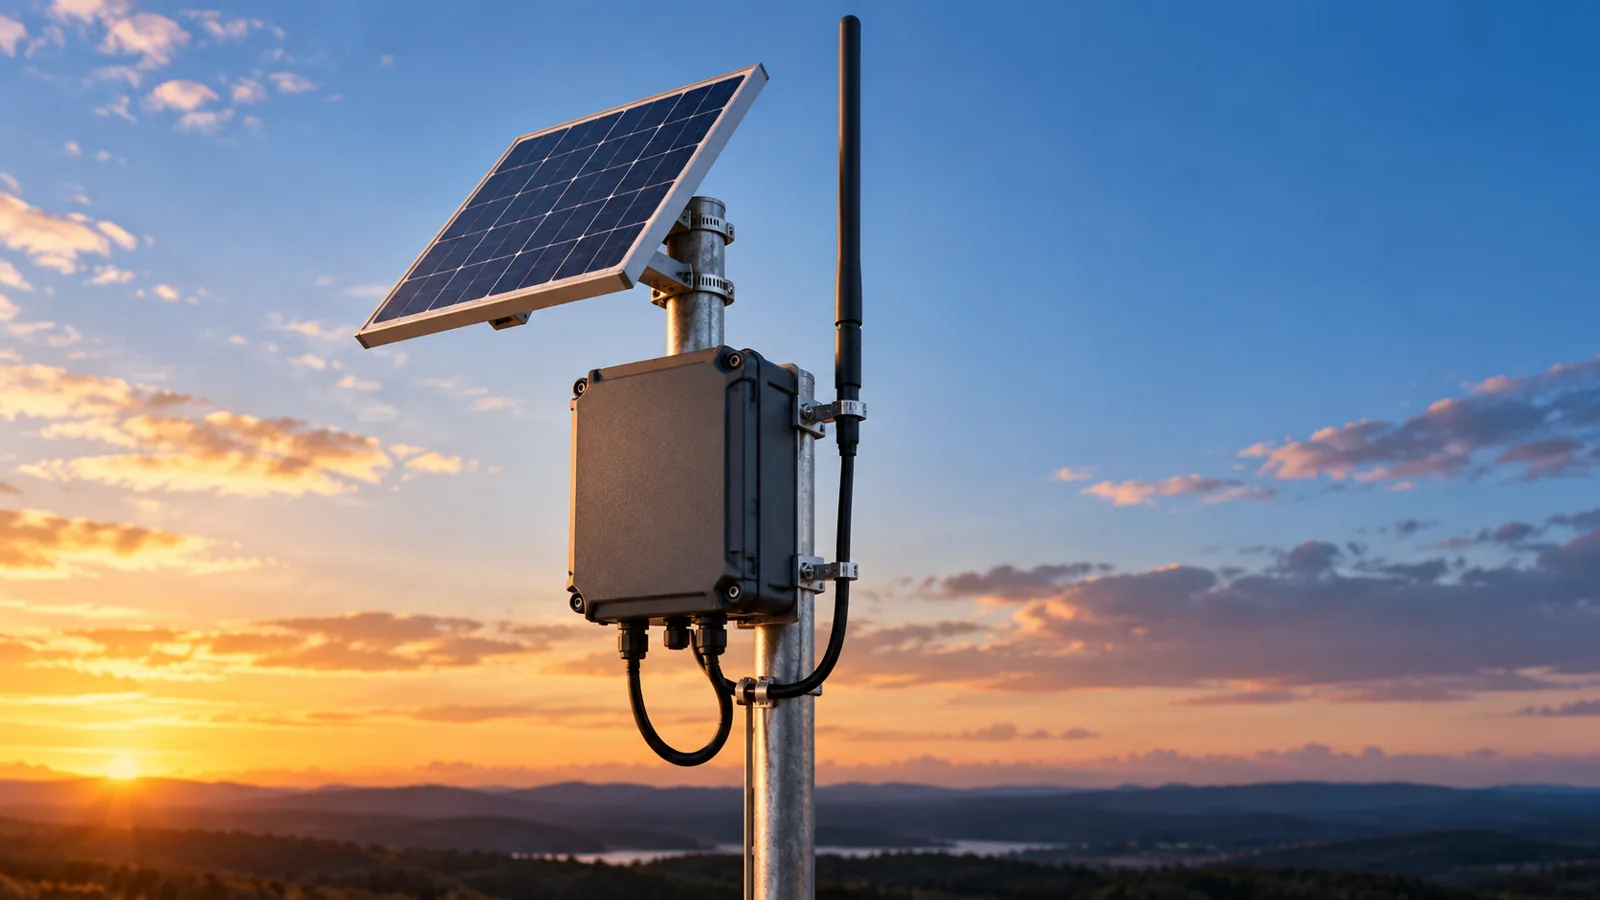
Build around the RAK19003/RAK4631 Mini kit, a regulated 5 V solar feed and a protected LiPo. Use CLIENT for ordinary relaying; choose the SenseCAP P1 Pro if you want an integrated solar node.
- Radio corenRF52840 + SX1262
- Solar feedRegulated 5 V
- Start with roleCLIENT
Give a radio a sunny spot and it can carry messages long after the nearest USB socket disappears. Build this one around the RAK WisBlock Mini starter kit: RAK19003 base plus RAK4631 radio, a protected LiPo, a regulated solar feed and a sealed box. The interesting part is making those pieces agree on voltage, connectors and daily energy.
Research guide: hardware specs come from the makers and Meshtastic; the power budget below is a calculated example.
Start at the Meshtastic hub if you are choosing your first radio. Here, you are building the next project: an unattended relay. “Repeater” describes its job; CLIENT is the recommended Meshtastic role for this build.
Full parts list: buy the connections together
Use your country’s permitted region: US readers need 915 MHz hardware and the US region setting; compliant default operation in that ISM band needs no individual radio licence. See Meshtastic’s regional settings.
We earn a commission if you buy through our links — it doesn’t change our picks. How we make money → As an Amazon Associate I earn from qualifying purchases.
| Part | Quantity | Why it belongs in this build |
|---|---|---|
| RAK WisBlock Mini US915 starter kit | 1 | RAK19003 base and RAK4631 nRF52840/SX1262 core, with separate battery and solar sockets |
| ALFA AOA-915-5ACM outdoor antenna | 1 | Outdoor 915 MHz antenna with an N-male connector |
| Proxicast ANT-105-NF pigtail | 1 | U.FL/MHF1 at the board, N-female bulkhead at the box; mates with the ALFA |
| Soshine SC5V6W solar panel | 1 | Small nominal 6 W panel; use the regulator below, not a direct solar connection |
| Pololu S7V8F5 regulator, item 2123 | 1 | Fixed 5 V output for the RAK solar input |
| elechawk ZH 1.5 mm pre-crimped connector kit | 1 kit | Use its two-position housing and leads for the solar harness |
| EEMB LP103454-PCM 3.7 V, 2000 mAh pack | 1 | Protected LiPo with a JST-PH 2 mm battery connection; no separate cell holder needed |
| TICONN 5.9 × 3.9 × 2.8-inch IP67 junction box | 1 | Hinged enclosure, internal plate and external mounting feet |
| Cable glands supplied with that TICONN box | Included | 3/8-inch and 1/2-inch NPT glands for sealed cable entry; fit the insert to the cable jacket |
| LeMotech 300 mm pole-mount rails and hose clamps | 2 kits | One mounting assembly for the box and one for the panel; selected clamps fit 91–114 mm poles |
| Proxicast ANT-900-002 self-fusing silicone tape | 1 roll | Weather-seal the outdoor coax joint |
The panel’s manufacturer-branded listing calls it 5 V/6 W but also uses 6 V wording. The separate regulator makes the RAK input requirement the design target. The box, harness and panel specifications above are from their branded listings; the electrical limits below come from the component makers’ documentation.
Have a multimeter, soldering tools, insulated joints, fasteners and a secure internal battery cradle ready. This is a wired electronics project, not a plug-together kit. The pole rails need adapting to the box feet and panel mounting arrangement; use a supporting bracket or backplate rather than drilling through solar cells. Choose fasteners for those actual holes.
Get the solar wiring right
RAK’s RAK19003 datasheet specifies 5 V solar input, never more than 5.5 V, and a 350 mA charger. The solar lead uses JST ZHR-2, 1.5 mm pitch. The battery lead uses JST PHR-2, 2 mm pitch. Similar-looking white plugs are a wonderfully annoying way to lose an afternoon: these are different connectors.
Wire the power path like this:
Panel → regulator VIN/GND → regulator VOUT/GND → RAK solar socket. Battery → RAK battery socket.
The panel’s USB-A lead needs a suitable wired breakout or a carefully prepared cable end inside the box. Identify its power conductors with the meter, insulate the data conductors and keep all splices sheltered. Solder the regulator connections using Pololu’s pin diagram, then build the two-pin solar harness.
The S7V8F5 accepts 2.7–11.8 V and outputs 5 V. Its published +5% output tolerance reaches 5.25 V, below RAK’s ceiling. Before attaching the board, measure the panel’s open-circuit voltage within the regulator’s input range and verify the regulator output stays within RAK’s limit in bright sun and under load.
Do one polarity check on both harnesses: trace positive to solar input/VBAT and negative to GND against the board diagrams; never rely on housing shape or wire colour alone. The regulator has no reverse-voltage protection.
Secure the LiPo in its cradle without crushing or puncturing it. EEMB specifies charging at 0–45°C; for a freezing site, use a temperature-qualified charging arrangement instead of this simple battery hookup. A weatherproof box handles rain, not battery temperature.
Power budget: the charger sets the pace
A relay spends time listening, not just sleeping. The RAK4631 datasheet lists 17 mA in one LoRa receive mode with Bluetooth asleep and 92 mA transmitting at 17 dBm. Those are module operating states. Use a whole-node average for solar planning.
Example assumptions: 3.7 V nominal battery, 2000 mAh capacity with 80% usable energy, a nominal 6 W panel with 50% solar/conversion derating, six one-hour sunlight steps at 25%, 50%, 75%, 75%, 50% and 25% of full irradiance, and assumed battery-side averages of 25 mA or 50 mA.
| Calculation | 25 mA scenario | 50 mA scenario |
|---|---|---|
| Whole-node daily consumption | 2.22 Wh | 4.44 Wh |
| Battery nominal / assumed usable energy | 7.40 / 5.92 Wh | 7.40 / 5.92 Wh |
| Estimated operation without sun | 64 hours | 32 hours |
| Gross daily harvest after hourly charger cap | 6.68 Wh | 6.68 Wh |
| Daily energy balance | +4.46 Wh | +2.24 Wh |
The arithmetic is volts × amps × hours. For the smaller load: 3.7 × 0.025 × 24 = 2.22 Wh/day. The pack holds 3.7 × 2 = 7.4 Wh nominally; the assumed usable portion is 7.4 × 0.8 = 5.92 Wh.
Now the easy-to-miss bit: the panel cannot push its entire nameplate output through a 350 mA charger. This simplified battery-side calculation caps charge power at 3.7 × 0.35 = 1.295 W. Apply that cap separately to each actual hour: min(6 × sunlight fraction × 0.5, 1.295) × 1 hour. The first and last hours each supply 0.75 Wh; the middle four each reach the 1.295 Wh cap. Gross harvest is 2 × 0.75 + 4 × 1.295 = 6.68 Wh, before subtracting daily consumption.
Both scenarios cover their daily consumption in this sunlight model: the 25 mA node has 4.46 Wh left for replenishment, and the 50 mA node has 2.24 Wh. A bigger battery stretches the cloudy-weather reserve; a larger panel helps during weaker sunlight until the charger reaches its limit.
Measure accumulated energy over representative receive-and-transmit traffic before choosing a final mounting spot. Meshtastic’s solar-node power measurement guide recommends at least an hour, with two to six hours giving a more useful average. Replace the assumed average in this budget with your result.
Pick CLIENT, not an impressive-sounding role
Meshtastic’s configuration tips recommend CLIENT for nodes that help extend coverage, including well-positioned outdoor installations. CLIENT receives, sends and intelligently repeats messages. It already does the job you want.
| Role | Use it here? | What it changes |
|---|---|---|
| CLIENT | Yes: start here | Normal intelligent rebroadcasting; suitable for most unattended relays |
| CLIENT_MUTE | No | Sends and receives, but never repeats |
| CLIENT_BASE | Only for its specific use case | Prioritizes traffic from nodes you mark as favourites |
| ROUTER | Reserved for coordinated infrastructure | Higher-priority forwarding for exceptional sites, with different default interface behaviour |
| REPEATER | No | Deprecated in firmware 2.7.11; use the current role guidance |
The device configuration reference documents the roles and deprecation. Leaving a radio outdoors does not make ROUTER the better choice. Keep the ordinary CLIENT settings first; tune only after you have a working link and a measured energy budget.
Bring it up before it goes up
- Connect the antenna first. Seat the pigtail on the core’s LoRa U.FL connector, not the Bluetooth connection. Fasten its N-female bulkhead to the box and attach the N-male antenna. Never power the radio without its antenna.
- Update the RAK firmware over USB. Use the official flasher to obtain the matching firmware, following the nRF52 UF2 instructions rather than an ESP32 erase-and-install routine.
- Pair the phone app and set the region. Follow initial configuration, then select CLIENT under Device configuration. Keep the modem preset and channel settings compatible with the radios that will exchange messages.
- Try battery power, then solar input. Remove USB, exchange messages and reconnect the regulated solar feed. Log consumption and charging behaviour rather than judging the build from a charging icon.
- Test the relay path. Use a sender and receiver arranged so the receiver needs the relay, following the project power-test guide’s isolated-test approach. Compare delivery with the relay on and off; do not flood a busy public mesh with test traffic.
Our starter-node guide covers the first-message basics if this is your first RAK board.
Give the antenna a view and the water a way down
Choose height and clear line of sight before chasing a bigger antenna gain number. Our Meshtastic antennas and range guide explains the Fresnel zone, gain trade-offs and cable losses behind that choice. Put the antenna clear of the metal pole and obstructions, with the solar panel out of its shadow. Start somewhere accessible so you can adjust the build after its first charging and rain checks.
The ALFA antenna uses the N-male connection matched in the list. Proxicast’s pigtail documentation identifies the tiny board end as U.FL/MHF1, not MHF4. Support that thin internal coax so movement at the antenna cannot pull on the board socket.
Use the box’s external feet for mounting. Put cable entries underneath, tighten a gland around the cable’s intact round outer jacket, and replace the gland insert/size if it cannot grip that jacket. Loose individual wires through an oversized seal will invite water inside. Make a drip loop below the entry so rain runs to the low point instead of toward the lid.
Seal the antenna bulkhead penetration and wrap the exposed coax joint with self-fusing tape. Keep the lid gasket clean, close unused openings and run a gentle spray test with the electronics removed. The IP67 rating belongs to the original box; your drilled assembly earns its keep by staying dry inside.
For the internal board and battery cradle, visit the 3D printing lab. Leave room for connector bends, keep the regulator clear of the LiPo and make the mounting plate removable. Maintenance should mean opening a lid, not cutting the entire project apart.
Prefer fewer parts? Choose the documented solar alternative
The Seeed SenseCAP Solar Node P1 Pro puts the panel, enclosure and battery assembly together. Meshtastic lists it as supported solar hardware: nRF52840/SX1262, a 5 W panel, four included 3350 mAh 18650 cells, GPS, an RP-SMA antenna connection and mounting brackets.
Choose it when the radio project appeals more than soldering a solar harness. Choose WisBlock when you want control over the enclosure, mounting and power path. The DIY budget above belongs to the WisBlock example; size and test the integrated node using its own hardware documentation.
Let the sun take a shift
Build on the bench, prove the power path, measure the daily appetite, then mount it. The winning combination is a clear radio path, a battery that can bridge the dark hours and enough real charging to refill it. Start with the RAK kit and CLIENT role; make the energy balance work before the pole becomes permanent.
Keep the weather box and customize the inside: the Meshtastic case-printing guide covers removable board trays, cable entries and battery clearance.
For battery graphs and low-battery notifications, send your node telemetry to Home Assistant through a local MQTT gateway. The guide keeps the broker path separate from radio downlinks.
Sources & methodology
Where these facts come from.
- RAK19003 solar, battery, connectors and charger · checked October 27, 2026
- RAK4631 discrete current modes · checked October 27, 2026
- Pololu S7V8F5 wiring and electrical limits · checked October 27, 2026
- Proxicast U.FL-to-N pigtail · checked October 27, 2026
- ALFA outdoor 915 MHz antenna · checked October 27, 2026
- LeMotech pole brackets and clamps · checked October 27, 2026
- EEMB LP103454 battery specification · checked October 27, 2026
- Meshtastic recommended roles · checked October 27, 2026
- Meshtastic role reference and REPEATER deprecation · checked October 27, 2026
- Meshtastic region settings · checked October 27, 2026
- Measuring a solar node over time · checked October 27, 2026
- Official Meshtastic flasher · checked October 27, 2026
- nRF52 firmware installation · checked October 27, 2026
- Meshtastic initial configuration · checked October 27, 2026
- Supported SenseCAP solar node · checked October 27, 2026
Source dates are listed above.
As an Amazon Associate I earn from qualifying purchases.
Parts from this article
The gear, on Amazon
The models recommended above, with the specifications that matter for your choice.
Low-power modular build
RAK WisBlock Mini Starter Kit US915 (RAK19003 + RAK4631)
Start a low-power project with a modular nRF52 core, USB power and battery/solar inputs.
Outdoor antenna
ALFA AOA-915-5ACM outdoor 915 MHz antenna
Pair this N-male outdoor antenna with the matching N-female bulkhead pigtail.
Matching antenna lead
Proxicast ANT-105-NF U.FL to N-female pigtail
Bring the LoRa antenna connection through the enclosure wall without straining the board.
Panel for regulated input
Soshine SC5V6W small solar panel
Use this small panel with the separate 5 V regulator in the wiring plan.
Regulated solar feed
Pololu S7V8F5 5 V regulator (2123)
Put a fixed 5 V stage between the panel and the RAK solar connector.
Solar connector harness
elechawk ZH 1.5 mm pre-crimped connector kit
Use the two-position housing to make the RAK solar lead.
Battery for a RAK project
EEMB LP103454-PCM 3.7V 2000mAh LiPo
Power a portable RAK project with a LiPo pack sized for your enclosure.
Weather enclosure
TICONN 5.9-inch IP67 junction box
The hinged box gives the board and battery a sheltered home with a removable mounting plate.
Pole mounting
LeMotech 300 mm pole brackets and 91–114 mm clamps
Use the rails and adjustable hose clamps to support a custom box or panel mount.
Outdoor coax seal
Proxicast ANT-900-002 self-fusing silicone tape
Wrap the outdoor antenna joint to keep moisture away from the connector.
Ready-made solar alternative
Seeed SenseCAP Solar Node P1 Pro
Choose the integrated panel, enclosure and included battery pack when you want fewer parts to assemble.
Prepared by Racks & Watts.