Electronics bench & ESP32
Digital microscopes for an electronics bench: HDMI vs USB inspection
Choose an Andonstar AD407, AD407 Pro or Plugable USB microscope by standalone screen, HDMI viewing, computer capture and room for your tools.
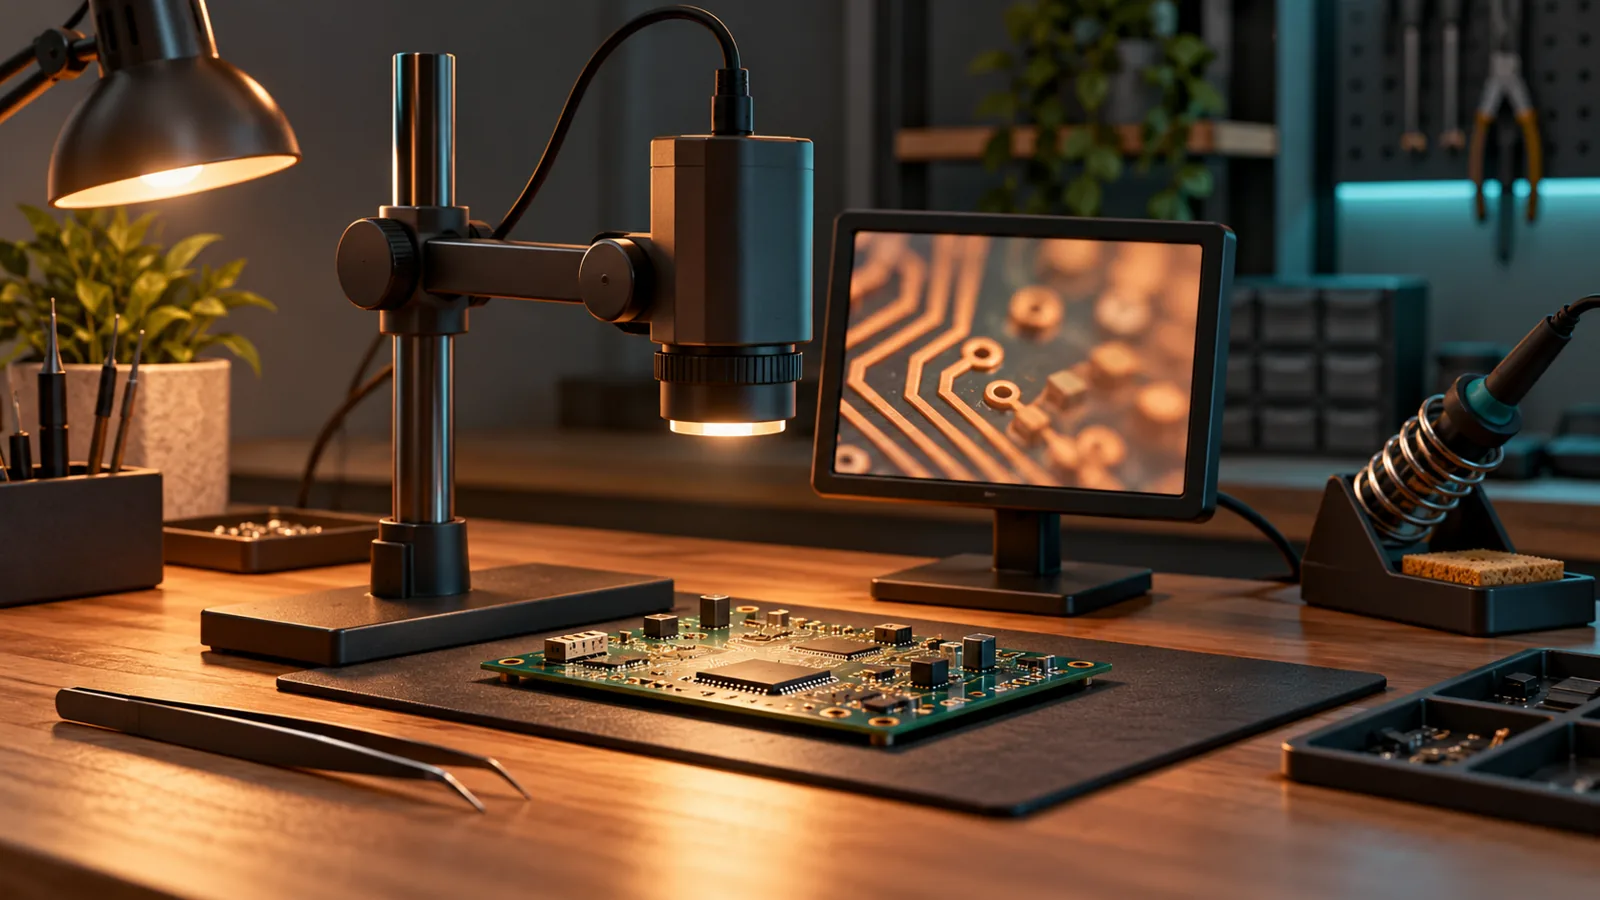
OUR PICKS / YOUR SETUP
Find your fit.
Choose AD407 for standalone viewing, AD407 Pro for a larger stand and simultaneous screen/HDMI output, or Plugable USB2-MICRO-250X for computer capture. Leave room for the board and tools before increasing magnification.
- StandaloneAD407 · 7-inch screen
- Shared viewAD407 Pro · dual display
- Computer capturePlugable · USB camera
We earn a commission if you buy through our links — it doesn’t change our picks. How we make money → As an Amazon Associate I earn from qualifying purchases.
YOUR NEXT PROJECT / THE GEAR
Parts list
- Andonstar AD407 digital microscopeCheck price on Amazon
Choose AD407 for a built-in screen and HDMI viewing without a computer.
- Andonstar AD407 Pro digital microscopeCheck price on Amazon
Choose AD407 Pro for the taller stand and simultaneous built-in and HDMI viewing.
- Plugable USB2-MICRO-250X microscopeCheck price on Amazon
Choose Plugable for close-up inspection and image capture through a compatible camera app.
That header joint looked fine until you put it on a screen. Choose Andonstar AD407 for a standalone inspection station, AD407 Pro for a larger stand and simultaneous displays, or Plugable USB2-MICRO-250X for capture through a computer. Buy the view you need, then leave room to get your tools underneath it.
Specs from the makers, checked November 1, 2026; this is a research-based guide.
Pick your viewing path
A microscope with its own screen lets you inspect a board without opening a laptop. HDMI can put that view on a larger display. A USB camera instead feeds a compatible camera application, where you can save a close-up alongside your project notes.
Those are different jobs. Andonstar’s AD407 specifications explicitly list PC support: No, even though the product title includes “USB.” Choose it for its screen and HDMI output. For live video into a computer, choose the Plugable camera below.
Start with the electronics bench guide if you still need the iron, meter and board holder. A microscope adds the close-up view; the meter checks the connection.
Compare the three microscopes
| Pick | Viewing path | Stand or support, as specified by maker | Useful recording feature |
|---|---|---|---|
| Andonstar AD407 | Built-in 7-inch screen; HDMI | Stand: 20 × 12 × 19 cm | MicroSD up to 32 GB |
| Andonstar AD407 Pro | Built-in 7-inch screen and HDMI simultaneously | Stand: 20 × 18 × 32 cm | MicroSD up to 64 GB; remote capture |
| Plugable USB2-MICRO-250X | USB camera app on a compatible host | Flexible arm and observation stand | Host-app image/video capture |
The stand dimensions describe the assembly, not the gap between the lens and your board. Plan that gap around the holder, component height and tools you want to use.
AD407: a standalone screen
Pick AD407 when the microscope should be ready without borrowing the laptop. Its built-in screen, HDMI output and card recording cover a straightforward inspection station. Andonstar specifies 5 V DC power and includes a power adapter and HDMI cable.
Keep the display where you can look ahead rather than crouch over the work. Use the stand to hold the camera steady while you move the board into the part of the image you need.
AD407 Pro: more stand and a shared view
Pick AD407 Pro when you want the larger stand and a screen someone else can watch. Andonstar documents simultaneous viewing on the built-in 7-inch screen and an HDMI display. That suits explaining a joint, showing a component marking or keeping the larger screen in your normal sightline.
The Pro maker page specifies its 20 × 18 × 32 cm stand and a remote for captures without pressing buttons on the screen. It also documents a focusing wheel and bracket adjustment for working distance.
Both Andonstar picks specify a 5 cm minimum focus distance. Set the actual view for tool clearance; minimum focus is not a target to crowd an iron into. For a larger external display, the desk monitor guide helps you match inputs and stand space.
Plugable: put the close-up in your notes
Pick Plugable USB2-MICRO-250X when saving the image on a computer is the main job. It uses a webcam chipset, comes with USB-A/USB-C connections and a flexible stand, and has a brightness-controlled LED halo. Plugable lists Windows, macOS, ChromeOS and Linux support with compatible camera software; mobile devices have their own app requirements.
Open a camera app and select Digital Microscope. The LEDs activate when the camera is active in the application, so an unlit ring at initial plug-in is your cue to open the preview. See the Plugable camera and compatibility guide.
Use the stand for repeatable framing, then save before-and-after images of a repaired header or a connector you want to document. Keep the circuit unpowered while arranging it under the camera.
Working distance beats a giant zoom number
For soldering, start with enough of the board visible to find your way around and enough room to move the tools. Move closer for a marking or tiny edge after the wider inspection.
Plugable’s focus guidance explains why its approximately 60×–250× range isn’t a zoom dial. Distance and the focus wheel work together. At the closest position, with the clear shield resting on the object, there are two distinct focal positions with a blurry interval between them. Turn the wheel slowly and watch the preview rather than spinning past focus.
That contact view is an inspection position, not working room for an iron. Use the calipers and finishing-tools guide for measuring a part’s dimensions; use the camera to see its details.
Make the first inspection useful
- Secure an unpowered board. Leave access to the joint or connector you want to inspect.
- Choose the display route. Power the standalone microscope and use its screen or HDMI; for Plugable, open the host camera app.
- Frame before focusing. Adjust height, centre the area and bring it into focus. Leave tool clearance if you plan to work beneath it.
- Adjust the light. Move the board or lighting angle so a reflection doesn’t cover the feature you want to see.
- Save a useful view. Capture the joint and enough surrounding board to find it again. Pair the visual check with the electrical checks appropriate to the project.
AD407 for the standalone station, AD407 Pro for the bigger stand and dual display, Plugable for computer capture. Give the tiny work a larger view, then get back to making something useful in the electronics lab.
Sources & methodology
Where these facts come from.
- Andonstar AD407 screen, HDMI, stand and PC support · checked November 1, 2026
- Andonstar AD407 Pro stand, dual display and controls · checked November 1, 2026
- Plugable USB2-MICRO-250X connections and camera support · checked November 1, 2026
- Plugable focus and working-distance guidance · checked November 1, 2026
Source dates are listed above.
As an Amazon Associate I earn from qualifying purchases.
YOUR NEXT PROJECT / THE GEAR
Parts list
- Andonstar AD407 digital microscopeCheck price on Amazon
Choose AD407 for a built-in screen and HDMI viewing without a computer.
- Andonstar AD407 Pro digital microscopeCheck price on Amazon
Choose AD407 Pro for the taller stand and simultaneous built-in and HDMI viewing.
- Plugable USB2-MICRO-250X microscopeCheck price on Amazon
Choose Plugable for close-up inspection and image capture through a compatible camera app.
Prepared by Racks & Watts.