Homelab desk
Best KVM switch for a homelab desk: HDMI, DisplayPort and USB-C picks
Choose a KVM for HDMI mini PCs, dual DisplayPort desktops, a USB-C laptop or four lab hosts. Compare maker specs and count the cables before wiring your desk.
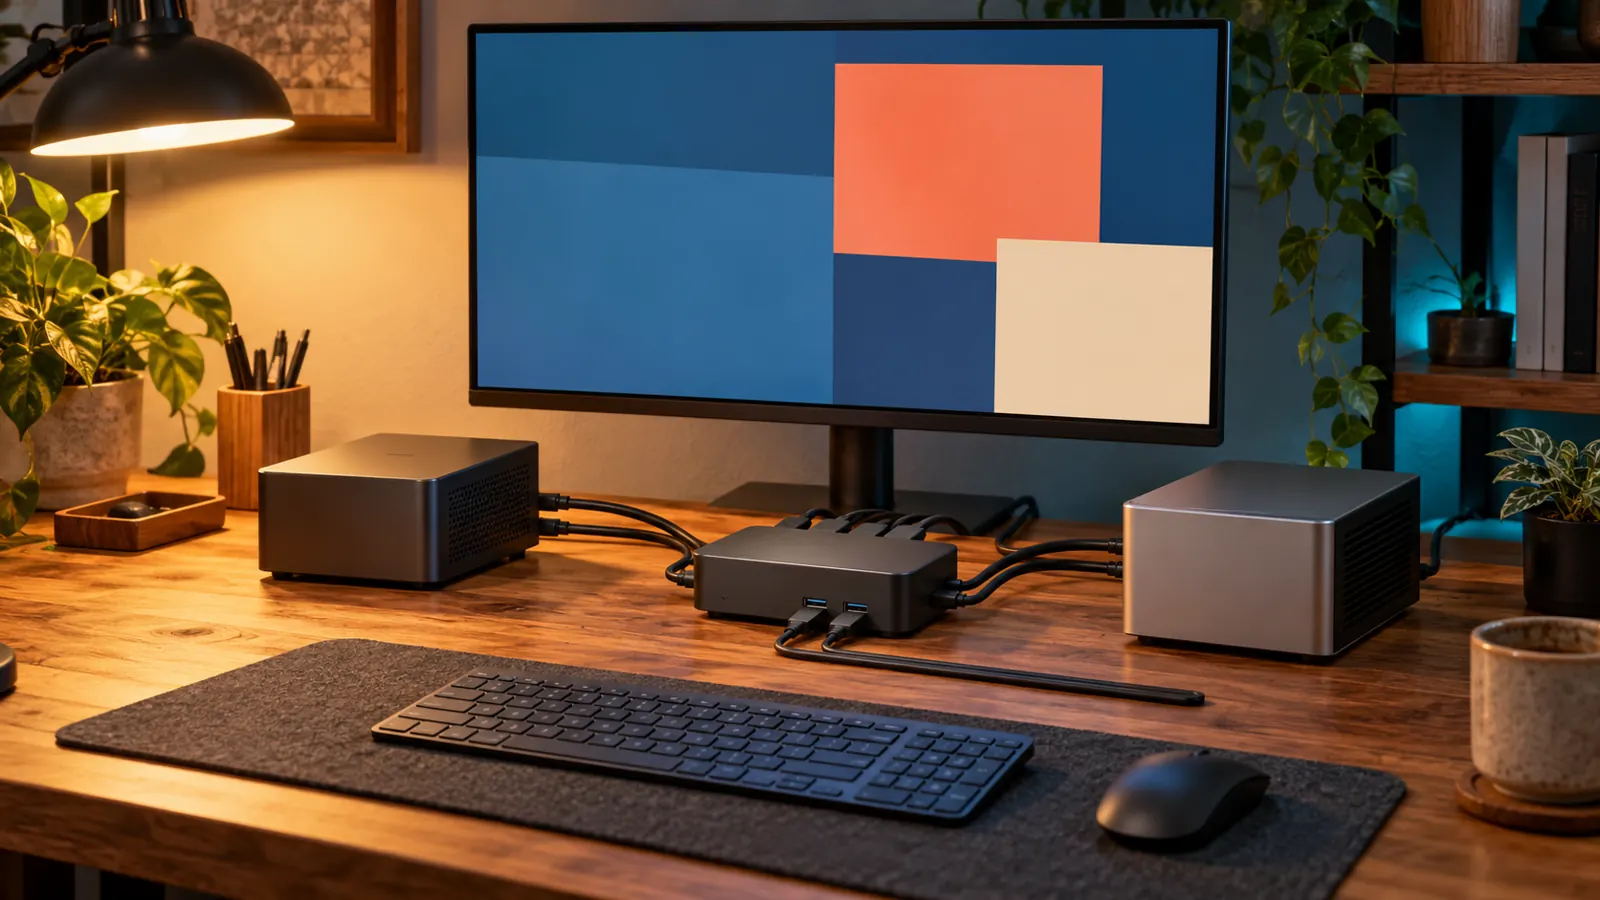
OUR PICKS / YOUR SETUP
Find your fit.
Choose StarTech SV231HU34K6 for two HDMI hosts and one screen, SV231DPDDUA2 for dual DisplayPort, AV Access iDock C10 for a compatible USB-C laptop plus desktop, or SV431HU34K6 for four HDMI hosts. Match the video outputs first, then count USB upstream cables.
- HDMI picksHDMI 2.0 · 4K60
- DisplayPort2 screens · DP 1.2
- Laptop dockUSB-C · 60 W charging
We earn a commission if you buy through our links — it doesn’t change our picks. How we make money → As an Amazon Associate I earn from qualifying purchases.
YOUR NEXT PROJECT / THE GEAR
Parts list
- StarTech SV231HU34K6 HDMI KVMCheck price on Amazon
Share one HDMI screen and USB peripherals between two nearby computers.
- StarTech SV231DPDDUA2 dual-DisplayPort KVMCheck price on Amazon
Share two DisplayPort screens, a wired keyboard and mouse between two computers.
- AV Access iDock C10Check price on Amazon
Dock a compatible USB-C laptop and switch two HDMI screens to your desktop.
- StarTech SV431HU34K6 HDMI KVMCheck price on Amazon
Put four HDMI computers behind one screen, keyboard and mouse.
Stop moving the keyboard every time you change computers. A desk KVM puts the screen, keyboard and mouse on one switch, so your mini PC, workstation or little cluster can take turns without taking over the desk.
Choose by the ports on your computers. For two HDMI hosts and one screen, start with StarTech SV231HU34K6. For two DisplayPort screens, use SV231DPDDUA2. The AV Access iDock C10 suits a compatible USB-C laptop plus desktop; SV431HU34K6 gives four HDMI machines a shared console.
Specs and connection requirements from the makers’ datasheets and manuals, checked October 31, 2026.
Which one do you need?
Count computer outputs before counting KVM ports. “Two-port” means two computers here, not two screens.
| Your computers and screens | Pick | Connection to each computer |
|---|---|---|
| Two HDMI mini PCs, Pis or desktops; one HDMI screen | StarTech SV231HU34K6 | One HDMI plus one USB upstream cable per host |
| Two desktops with two DisplayPort outputs each; two DP screens | StarTech SV231DPDDUA2 | Two DP cables plus one USB upstream cable per host |
| A compatible USB-C laptop and a desktop; two HDMI screens | AV Access iDock C10 | Laptop: one full-featured USB-C cable. Desktop: HDMI and DP and USB |
| Up to four HDMI computers; one HDMI screen | StarTech SV431HU34K6 | One HDMI plus one USB upstream cable per host |
An HDMI switch selects video; a KVM also switches your input devices. A one-host laptop dock adds ports but doesn’t select between computers. If you need to reach a boot screen over the network, use our Comet vs JetKVM vs PiKVM guide instead. These desk picks serve the seat in front of them.
The four KVMs compared
| Pick | Computers / screens | Maker-rated video | USB and desk extras | Power and signal cables |
|---|---|---|---|---|
| StarTech SV231HU34K6 | 2 / 1 | HDMI 2.0; 3840 × 2160 at 60 Hz | Two USB 3.0 hub ports, 5 Gbps; four HID ports; EDID emulation | Power adapter included; signal cables separate |
| StarTech SV231DPDDUA2 | 2 / 2 | DisplayPort 1.2; up to 4K at 60 Hz per screen | USB 2.0, 480 Mbps; keyboard/mouse plus two shared hub ports | Power adapter included; signal cables separate |
| AV Access iDock C10 | 2 / 2 | Two HDMI 2.0 outputs, up to 4K60; desktop DP 1.2a + HDMI 2.0 inputs | USB 3.0 data at 5 Gbps; up to 60 W laptop charging; laptop-only gigabit Ethernet | Power adapter and four host cables included; screen cables separate |
| StarTech SV431HU34K6 | 4 / 1 | HDMI 2.0; 3840 × 2160 at 60 Hz | Two USB 3.0 hub ports, 5 Gbps; four HID ports; EDID emulation | Power adapter included; signal cables separate |
The USB-C laptop’s display requirements are covered below. For every route, the host, cable and screen need to support your chosen video mode.
Two HDMI hosts: StarTech SV231HU34K6
This fills the gap in our homelab desk setup guide: a straightforward HDMI route for a pair of small machines. Each host sends video over HDMI and keyboard/mouse data over USB. The screen connects to the KVM’s console HDMI output.
StarTech documents HDMI 2.0, 4K60 and a 5 Gbps USB hub. Use the dedicated HID ports for your keyboard and mouse, leaving the two hub ports for other peripherals. Front-panel selection keeps the basic switching job simple.
For a Pi with micro-HDMI, choose the appropriate micro-HDMI-to-HDMI lead at the host end. Keep the rest of the path native HDMI. The mini PC guide helps you check the outputs before planning the desk.
Dual DisplayPort: StarTech SV231DPDDUA2
Choose this when both computers already offer two DisplayPort outputs and you want two extended screens. Each host needs a separate video connection for each screen; one DP cable doesn’t become two desktops inside this KVM.
The maker datasheet specifies dual 4K60 output, and the manual calls for DisplayPort 1.2 endpoints to reach the maximum mode. Its shared USB is USB 2.0 at 480 Mbps. That’s the important distinction from the HDMI models’ USB 3.0 hubs when you’re choosing where a fast external drive should connect.
This remains our two-screen DP pick from the desk guide. Use native DP outputs and keep the cable plan predictable.
Laptop plus desktop: AV Access iDock C10
The C10 earns its place by reducing the laptop side to one cable carrying video, USB data and up to 60 W charging. The desktop side stays conventional: HDMI + DisplayPort + USB upstream. Both screens connect to the dock’s HDMI outputs.
Choose it for a compatible Windows laptop with USB-C DisplayPort Alt Mode and MST; AV Access’s manual recommends discrete graphics for dual 4K60. On macOS, the MST route gives duplicated external screens. A charging-only USB-C port won’t carry the video this dock needs.
The gigabit Ethernet connection belongs to the USB-C laptop, not both hosts. Check that 60 W covers your laptop’s charging requirement, too. This is a laptop-and-desktop layout, not a pair of USB-C laptop inputs.
Four HDMI hosts: StarTech SV431HU34K6
Give a small cluster one local console. The SV431HU34K6 keeps the single-screen HDMI 2.0/4K60 layout, adds four host positions and retains the 5 Gbps USB hub. Select the machine you want from its front-panel buttons.
It makes sense when you regularly need a local screen on several nearby computers. Label the cables at both ends as you wire each host; the next recovery session becomes “select port three” instead of “which black lead is this?” For a server elsewhere in the building, go back to the remote KVM route.
Count the cables before you tuck it away
These counts cover host video/data links plus KVM-to-screen links. They exclude power, keyboard/mouse leads and optional audio or Ethernet. One USB-C cable carrying both video and data counts once.
| Setup | Host → KVM | KVM → screens | Total signal cables |
|---|---|---|---|
| Two HDMI hosts, one screen | 2 HDMI + 2 USB | 1 HDMI | 5 |
| Two DisplayPort hosts, two screens | 4 DP + 2 USB | 2 DP | 8 |
| iDock C10 laptop + desktop, two screens | 1 USB-C + 1 HDMI + 1 DP + 1 USB | 2 HDMI | 6 |
| Four HDMI hosts, one screen | 4 HDMI + 4 USB | 1 HDMI | 9 |
For the two-host HDMI build, that’s 2 × (1 HDMI + 1 USB) + 1 screen HDMI = 5. Add your wired keyboard and mouse leads separately.
The StarTech models include their power adapters but no signal cables. For the HDMI models, use SuperSpeed USB-A-to-USB-B upstream cables as specified in StarTech’s connection instructions. The DP model uses USB-A-to-B for its USB 2.0 path.
The C10’s manual lists four supplied host cables: USB-C, USB-A-to-B, HDMI and DP. Add two HDMI leads to your screens. In other words, its six-cable signal layout needs two extra cables, rather than six extra purchases.
Wire it once, then test every host
- Shut down before connecting. Follow the StarTech manuals’ power-off wiring sequence, and put the KVM where its selector remains reachable.
- Connect the console. Screen to the labelled output, keyboard and mouse to their console ports. Start with simple wired input devices.
- Connect each host’s complete set. Video alone gives you a picture; the matching USB upstream link carries keyboard and mouse. Keep each computer’s cables on the same numbered KVM position. On the C10 desktop, connect both video inputs for two screens.
- Use the supplied power adapter. Then select and boot each machine, following its maker’s startup sequence.
- Check the real jobs. Type in a terminal, select each screen’s intended mode, switch away and back, and try sleep/wake. For a recovery console, also test a cold boot and firmware setup screen before putting the cables out of reach.
If the StarTech two-port HDMI model offers only 1080p, inspect its EDID mode: the manual’s Default EDID mode is 1080p. Follow its Auto or Copy instructions to use the monitor’s capabilities. If video works but typing doesn’t, trace the selected computer’s USB upstream first.
Keep a direct HDMI path available for troubleshooting. Our portable HDMI crash-cart guide covers the little screen you can bring to a stubborn box.
Match the connectors, count the upstream cables, and choose the number of hosts you actually use. Then return to the homelab desk hub for the arm, dock and cable-management pieces around your shared console.
Pair the switch with a screen that fits its outputs: our homelab monitor guide compares HDMI, DisplayPort and USB-C inputs alongside scaling and mounting fit.
Sources & methodology
Where these facts come from.
- StarTech SV231HU34K6 HDMI 2.0, 4K60, USB and box contents · checked October 31, 2026
- StarTech two-host HDMI wiring and USB upstream · checked October 31, 2026
- StarTech SV231DPDDUA2 dual DisplayPort 1.2 and USB 2.0 · checked October 31, 2026
- StarTech DisplayPort KVM host and console connections · checked October 31, 2026
- StarTech SV431HU34K6 four-host HDMI and USB specifications · checked October 31, 2026
- StarTech four-host KVM wiring and port selection · checked October 31, 2026
- AV Access iDock C10 ports, host requirements, power and included cables · checked October 31, 2026
- AV Access iDock C10 laptop/desktop fit and MST limits · checked October 31, 2026
- StarTech SV231HU34K6 USB 5Gbps host and peripheral ports · checked October 31, 2026
Source dates are listed above.
As an Amazon Associate I earn from qualifying purchases.
YOUR NEXT PROJECT / THE GEAR
Parts list
- StarTech SV231HU34K6 HDMI KVMCheck price on Amazon
Share one HDMI screen and USB peripherals between two nearby computers.
- StarTech SV231DPDDUA2 dual-DisplayPort KVMCheck price on Amazon
Share two DisplayPort screens, a wired keyboard and mouse between two computers.
- AV Access iDock C10Check price on Amazon
Dock a compatible USB-C laptop and switch two HDMI screens to your desktop.
- StarTech SV431HU34K6 HDMI KVMCheck price on Amazon
Put four HDMI computers behind one screen, keyboard and mouse.
Prepared by Racks & Watts.