Homelab platforms
USB flash drives for a homelab rescue and installer kit
Choose a Samsung USB-A or USB-C flash drive for installers, verify the download, and test a direct Proxmox installer or Ventoy multiboot kit before recovery day.
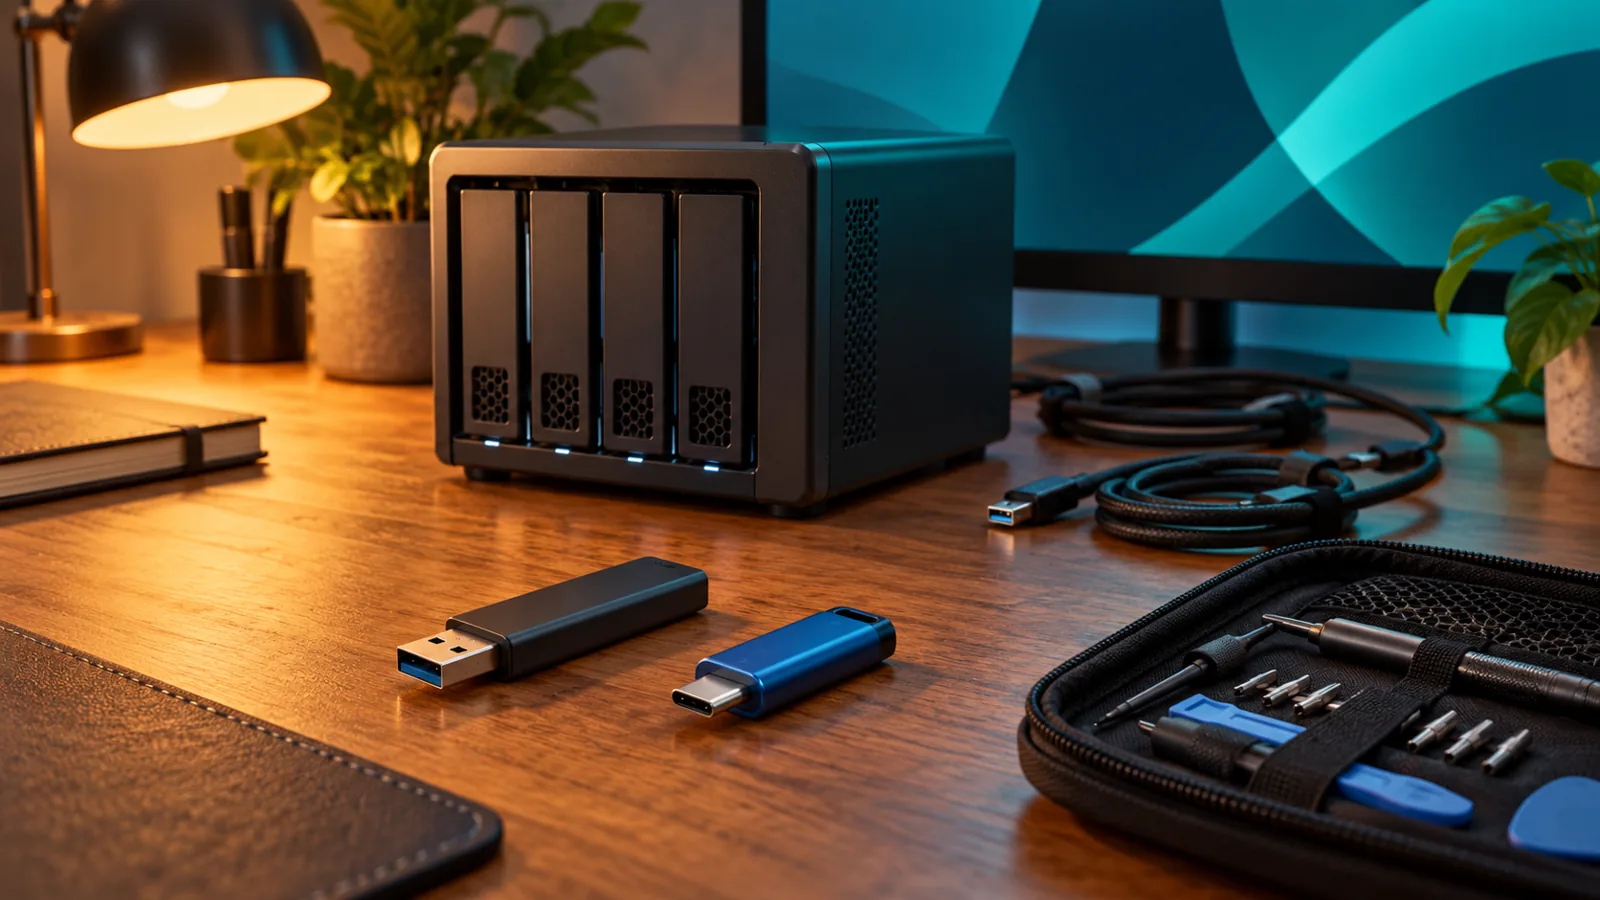
OUR PICKS / YOUR SETUP
Find your fit.
Choose Samsung BAR Plus 128 GB for a USB-A crash cart, or Samsung Type-C 256 GB for a USB-C laptop kit. Prepare a direct installer first; add Ventoy when you want a tested menu of images.
- USB-ABAR Plus · 128 GB
- USB-CType-C · 256 GB
- First jobVerify · write · boot-test
We earn a commission if you buy through our links — it doesn’t change our picks. How we make money → As an Amazon Associate I earn from qualifying purchases.
YOUR NEXT PROJECT / THE GEAR
Parts list
- Samsung BAR Plus 128 GBCheck price on Amazon
Keep a direct installer ready for a machine with a USB-A port.
- Samsung Type-C 256 GBCheck price on Amazon
Carry a USB-C installer or image collection alongside your laptop.
A server that will not boot is a bad place to discover your installer stick only fits the laptop upstairs. Choose Samsung BAR Plus 128 GB for a USB-A crash cart, or Samsung Type-C 256 GB for a USB-C laptop kit. Then prepare the stick and boot-test it on the machine it is meant to rescue.
Sources: research-based picks from Samsung specifications and official Proxmox, Ventoy and Ubuntu documentation, checked November 1, 2026.
Choose the port before the capacity
Look at the machine you will recover, not just the computer you use to download images. A USB-A stick is a straightforward fit for a host with an accessible USB-A port. The USB-C model makes sense beside a laptop with USB-C ports; test that port through the target computer’s firmware boot menu before putting the kit away.
| Pick | Exact model | Connector | Capacity | Maker-rated read speed |
|---|---|---|---|---|
| Samsung BAR Plus, champagne silver | MUF-128BE3/AM | USB-A | 128 GB | Up to 400 MB/s |
| Samsung Type-C | MUF-256DA/AM | USB-C | 256 GB | Up to 400 MB/s |
Samsung’s BAR Plus page and Type-C page identify those exact capacities and part numbers. Both label write speed as lower than read speed. The headline read rating is not a prediction for writing an image or booting an installer.
The Samsung connector table distinguishes Standard Type-A from Type-C and lists backward compatibility with USB 3.0/2.0. A matching plug gets you connected; the boot test tells you whether your prepared media works on that host.
Start with a direct installer
For a dedicated Proxmox stick, follow the official installation-media instructions. Proxmox supplies a hybrid ISO that you write as an image to the USB device. Copying the ISO into an ordinary folder does not create this direct installer.
Writing an image or first installing Ventoy erases the selected stick: disconnect unrelated removable backup drives and identify the destination by its device details and capacity before starting.
The Windows Rufus route is short:
- Select the intended USB destination and the Proxmox VE ISO.
- Click Start. If asked to download a different GRUB version, choose No, as Proxmox directs.
- In the following mode dialog, choose DD mode.
- Let writing finish, then eject the stick before moving it to the target host.
Keep that direct installer ready if Proxmox is the job. You can find the surrounding host choices in the mini-PC guide.
Want a menu of images? Use Ventoy
Ventoy’s getting-started guide describes a different workflow: install Ventoy once, then copy your image files onto its main partition. You can organise images in folders and choose one from its boot menu. This is handy when your kit needs more than one installer or rescue image.
Give the filenames useful release and purpose information. Add an image, test it, and keep the matching verification files with your download records. A large collection you have never booted is less useful than a small set you know how to reach.
For Secure Boot, follow Ventoy’s key-enrolment and verification-policy instructions. Its default policy permits EFI files without validation; follow its documented policy controls, or use your image publisher’s direct-install and Secure Boot instructions instead. Test the chosen route on the target machine.
Verify the download before writing it
Use the image publisher’s verification procedure. Ubuntu’s download-verification tutorial walks through authenticating the checksum file’s signature, then checking the downloaded ISO against it.
For Ubuntu, obtain the matching SHA256SUMS and SHA256SUMS.gpg files and follow the tutorial’s signing-key instructions. To calculate a local file hash, replace the example filename with your actual download:
sha256sum installer.isoCompare it with the authenticated checksum for that exact image. The hash calculation checks the file; authenticating the publisher’s checksum signature supplies the trust step. Keep the release’s files together so an old checksum cannot get mixed into the next update.
Rehearse the recovery, not the installation
Connect your display and keyboard, open the machine’s one-time boot menu, and select the USB entry. For a headless box, the portable HDMI crash-cart guide covers the local display kit; the headless boot guide covers the wider recovery plan.
Check that you can reach the intended installer or live environment. With Ventoy, select the actual image you plan to use, not just the menu. Stop before any installer disk-selection, formatting or installation action when rehearsing on a working host.
Record which machine and USB port you tested, the image release and its verification result. Label the stick by purpose, keep it with the console tools, and repeat the boot check when you replace an image. That is a recovery kit you can act on.
Recovery media opens the door; backups bring the data
Keep these sticks for installation and recovery tools. Put the host on appropriate internal storage, and keep recoverable data on a separate destination: the external SSD backup guide and RAID, snapshots and backups guide cover those jobs.
Buy the connector that reaches the machine, prepare the image correctly, and prove it boots before the bad day. The tiny stick earns its place by being ready.
Sources & methodology
Where these facts come from.
- Samsung US: BAR Plus 128 GB exact model and read rating · checked November 1, 2026
- Samsung US: Type-C 256 GB exact model and read rating · checked November 1, 2026
- Samsung BAR Plus datasheet: capacity and interface · checked November 1, 2026
- Samsung USB flash-drive brochure: connector and interface table · checked November 1, 2026
- Proxmox VE administration guide: prepare installation media · checked November 1, 2026
- Ventoy getting started: install and copy images · checked November 1, 2026
- Ventoy Secure Boot: enrolment and verification policy · checked November 1, 2026
- Ubuntu: authenticate and verify an installer download · checked November 1, 2026
Source dates are listed above.
As an Amazon Associate I earn from qualifying purchases.
YOUR NEXT PROJECT / THE GEAR
Parts list
- Samsung BAR Plus 128 GBCheck price on Amazon
Keep a direct installer ready for a machine with a USB-A port.
- Samsung Type-C 256 GBCheck price on Amazon
Carry a USB-C installer or image collection alongside your laptop.
Prepared by Racks & Watts.